Month: February 2020

patching plaster and lathe: no strapping required!

February 29, 2020 Home renos , ,

I’d never had to patch holes in plaster and lathe before, and proceeded in the normal fashion, trying to slip strapping into the hole like you would with drywall.  That was really difficult (at least in the small holes I was trying to patch.)

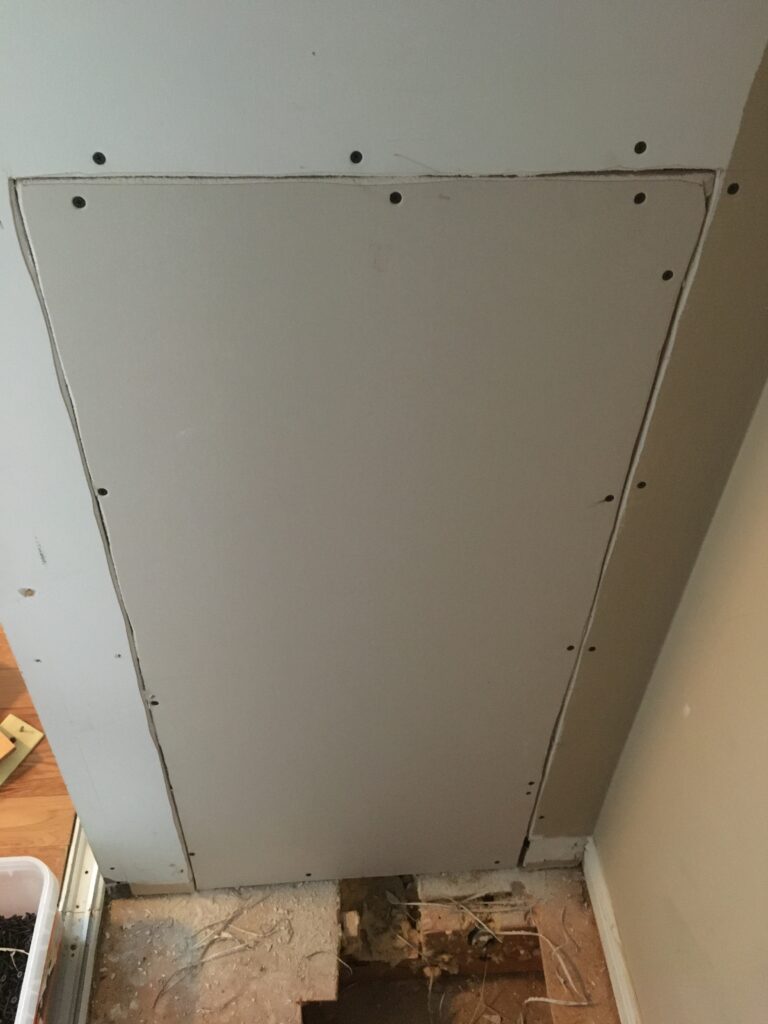
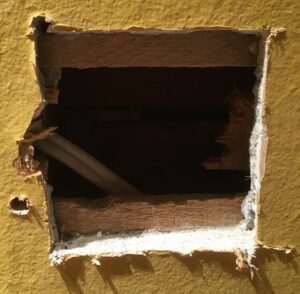
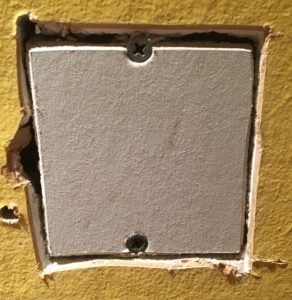
I got smarter on my second hole, and used the lathe itself as the strapping.  All I had to do was cut the hole a bit bigger than my hole, like so:

then I was able to anchor my filler piece of drywall nicely using the lathe

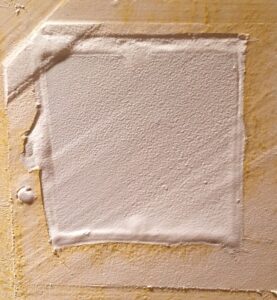
my first coat in the closet side is a bit messy since that side it just plaster and lathe and very uneven

but on the outside side of this wall, where we have drywall on plaster on lathe, the patch will be nice and smooth:
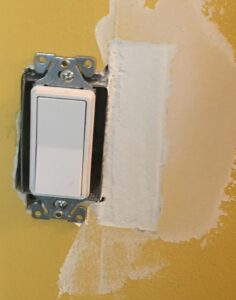

This is a new switch for the wall sconce light outlet that we presume was a wall sconce that had its own switch initially.

I had some trouble using my new trick on one of my four holes, since the plaster and lathe in that section was thinner than my drywall.  In that section, I tried trimming my filler drywall edgewise, which didn’t work too well, since it cracked once screwed in, but it was good enough to hold the mud in place, so it all worked out in the end.
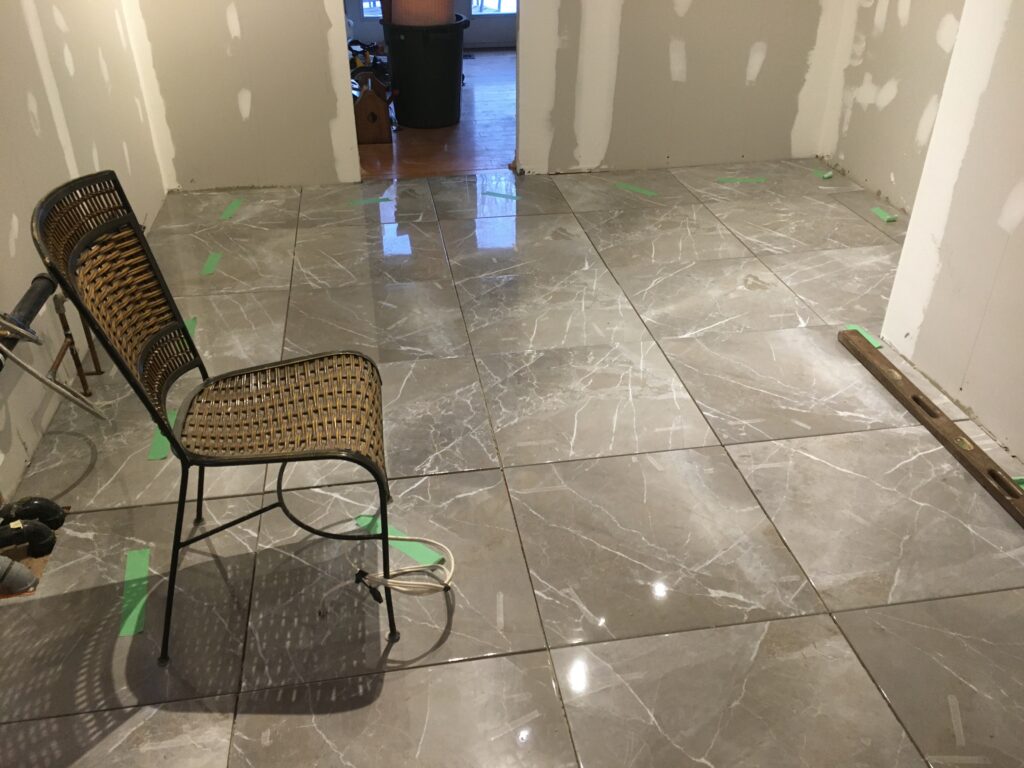
Kitchen progress, we have a floor!

February 24, 2020 Home renos , , ,

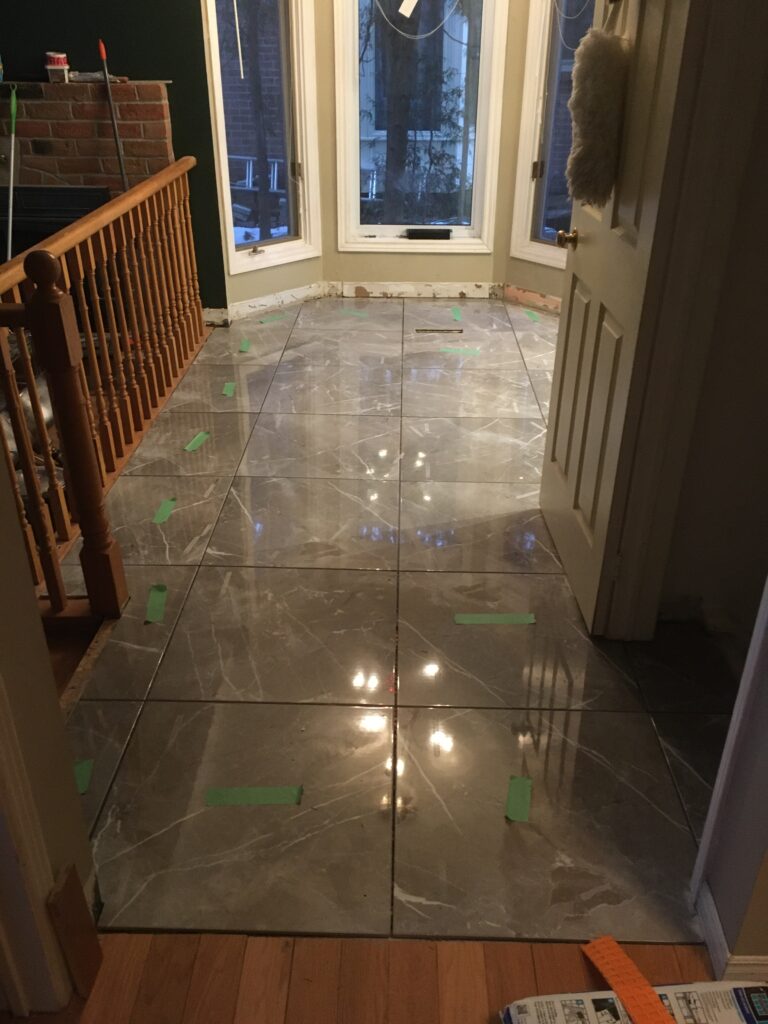
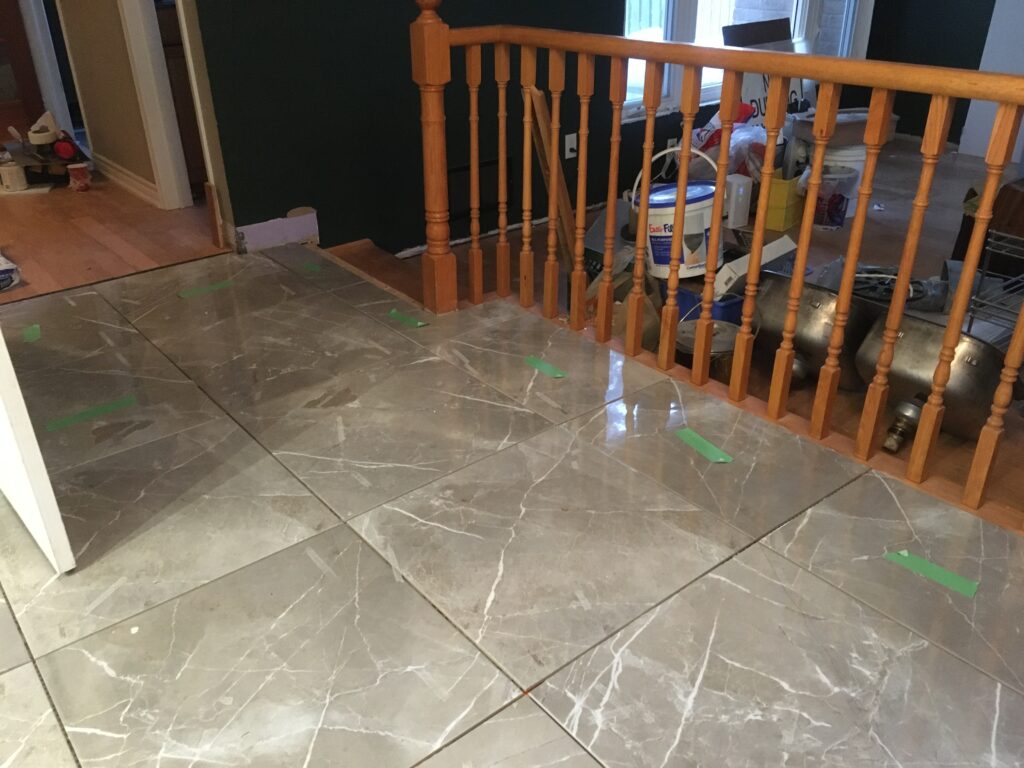
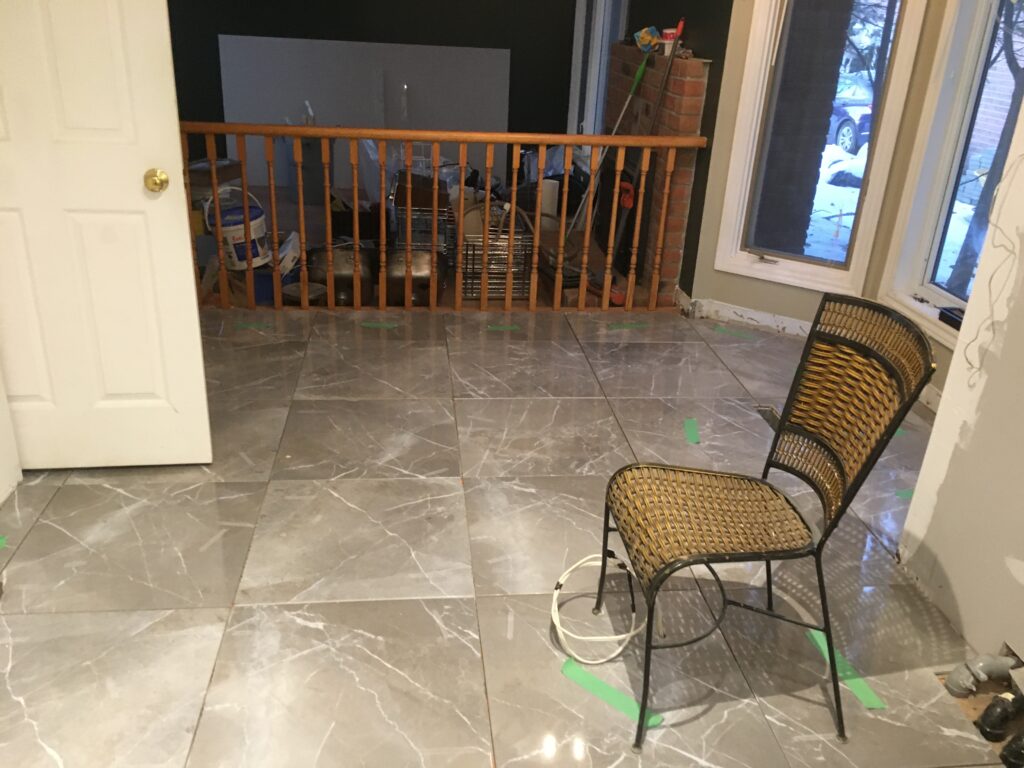
Our contractor installed the new kitchen tiles this weekend, and I think it’s looking pretty good, even without the grout:

There’s still some finicky work with the thresholds to do, but we should be able to get the cabinet installers in to do their work soon.

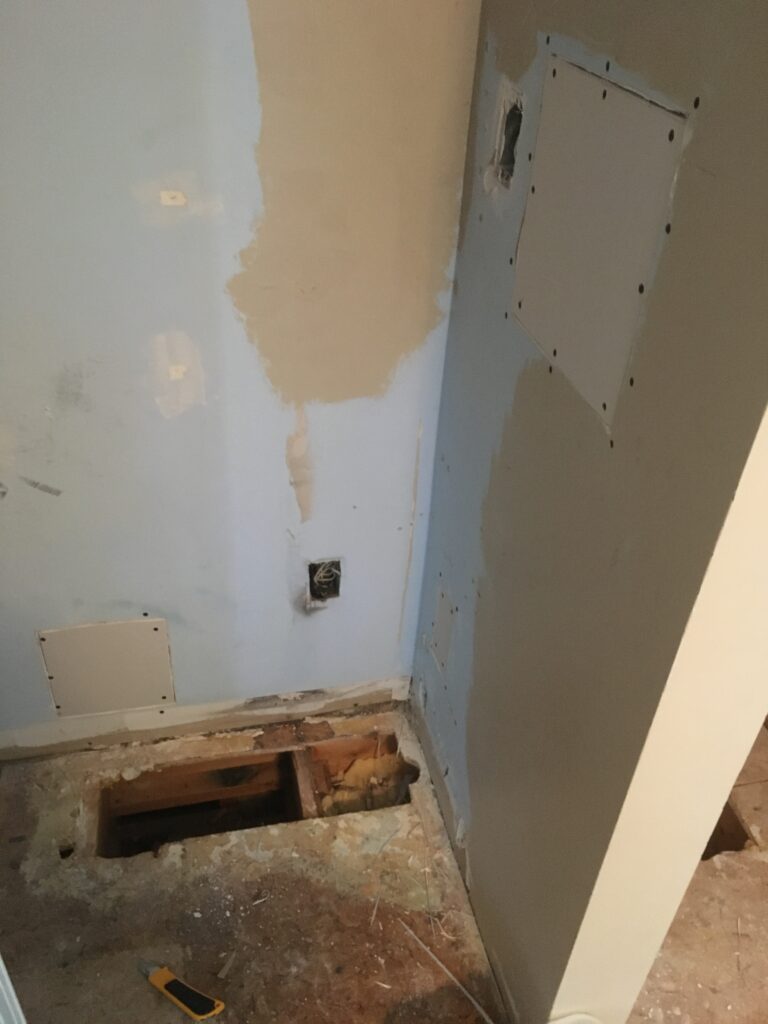
We spent some time at the house too. Sofia got tons of the remaining chaos under control, and I putzed away, patching up the giant holes in Connor’s old room’s closet, which we ripped the plumbing and electrical out of (there was improperly installed plumbing and electrical in there for a 2nd floor laundry.)

The holes in the floor are because the old owner didn’t properly replace the subfloor that he massacred to run his plumbing and electical (on one side he didn’t have anything at all, and just covered it up the hole with some click-together hardwood). I have some nice solid plywood that I’ll put in here to replace the missing OSB, but I couldn’t do that this weekend (at least easily) without my table saw, which was at the new-house. I’ll also screw in a parallel section of 2×6 on the right hand side of the closet to strengthen the joist, which was also massacred a bit — that’s probably overkill, but I may as well while the floor is open.

Building a cantilever TV stand

February 17, 2020 Home renos , ,

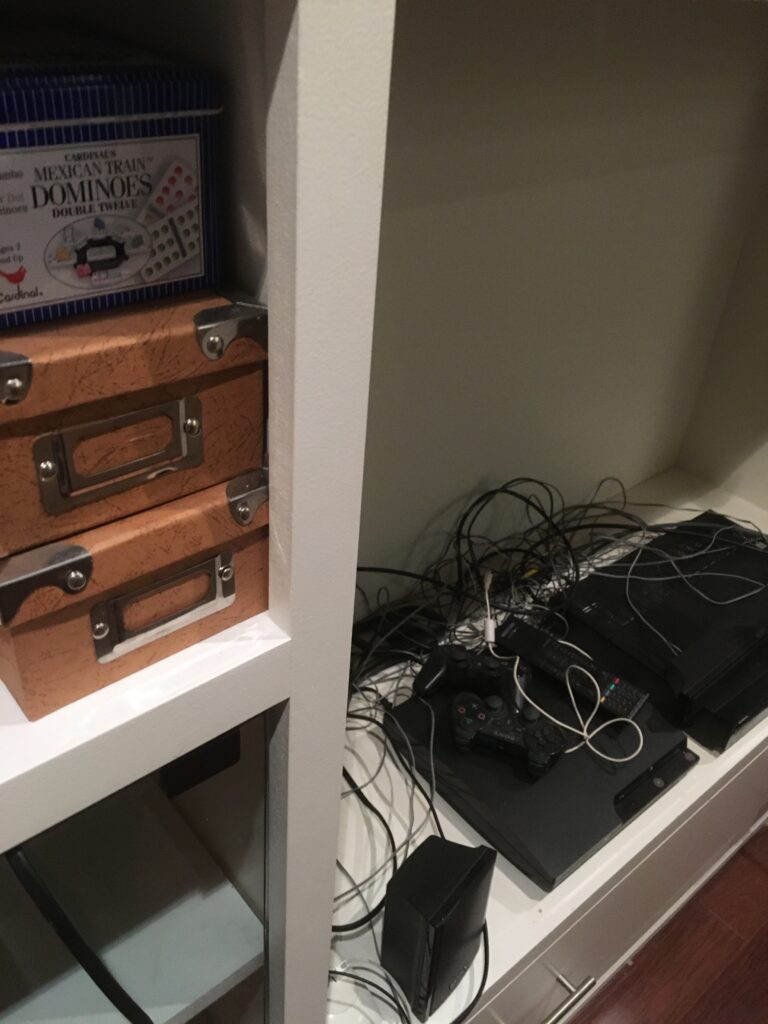
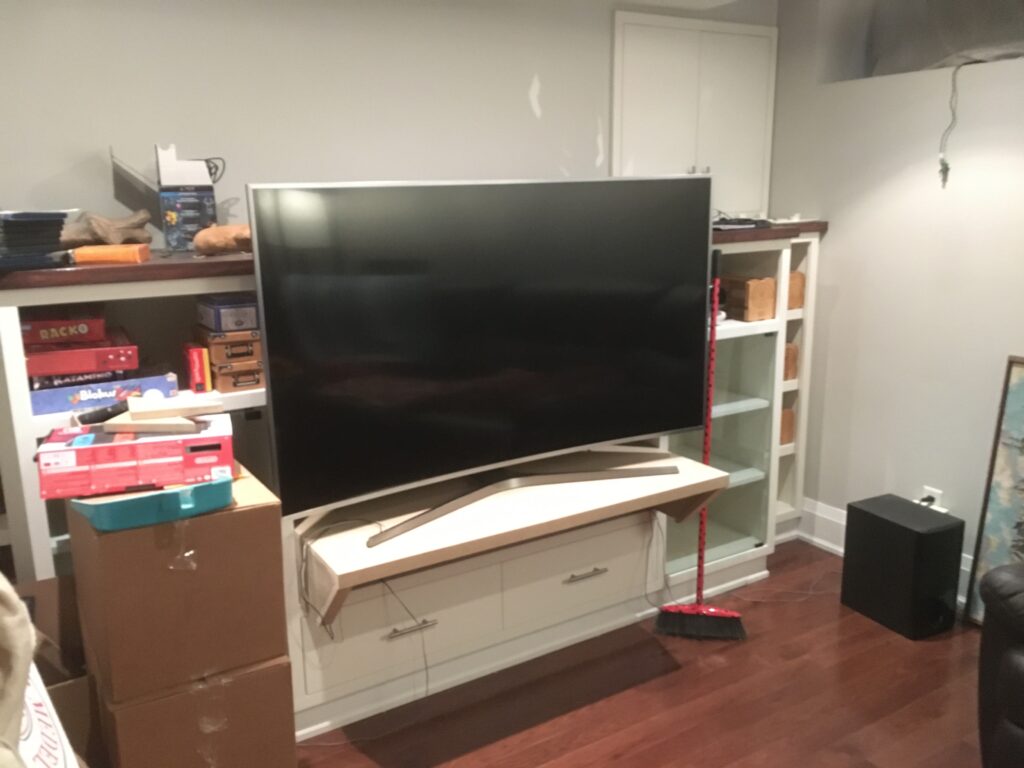
The basement den in the new house has a really nice built in TV cabinet.

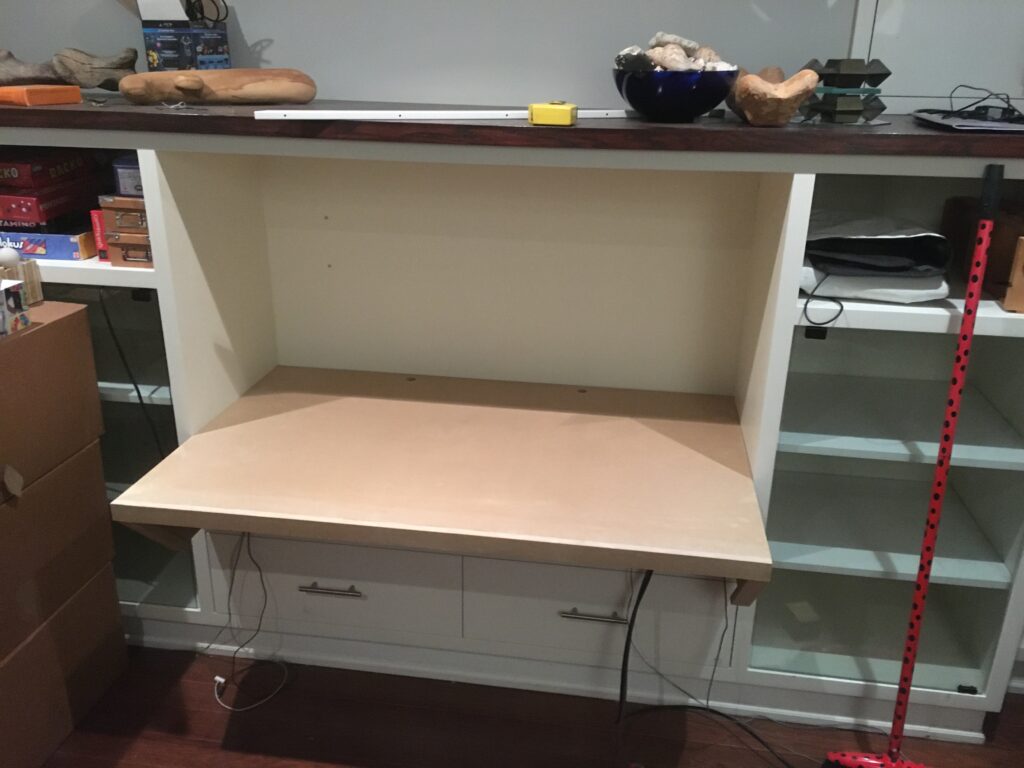
The problem is that gargantuan TVs are too cheap these days, and the one we bought a couple years ago doesn’t fit.  We’ve had the TV propped up in front of the built in cabinet on a temporary stand (the one we used at the old house.)  Our plan was to build a cantilever shelf that just fits into the built in cabinet, which would support the TV, and is non-destructive.  Should we get rid of the current behemoth for a smaller TV, we could just take out the cantilever unit, and things would basically be back to the original state.

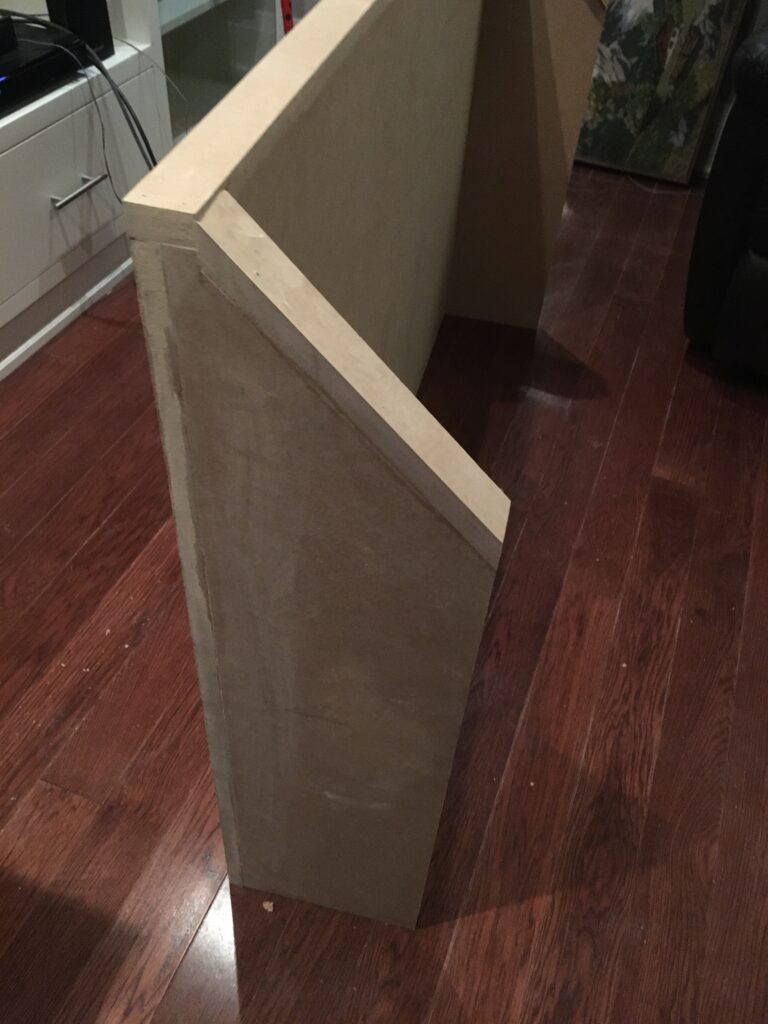
I wanted to match character with the original unit, which appears to be built from 3/4″ MDF, and has tasteful lips around all the basic boxes like so

These edges are all 1.5″ thick, 2x the width of the stock used for the box portions of the unit.  Here’s what I built (still not sanded, nor painted)

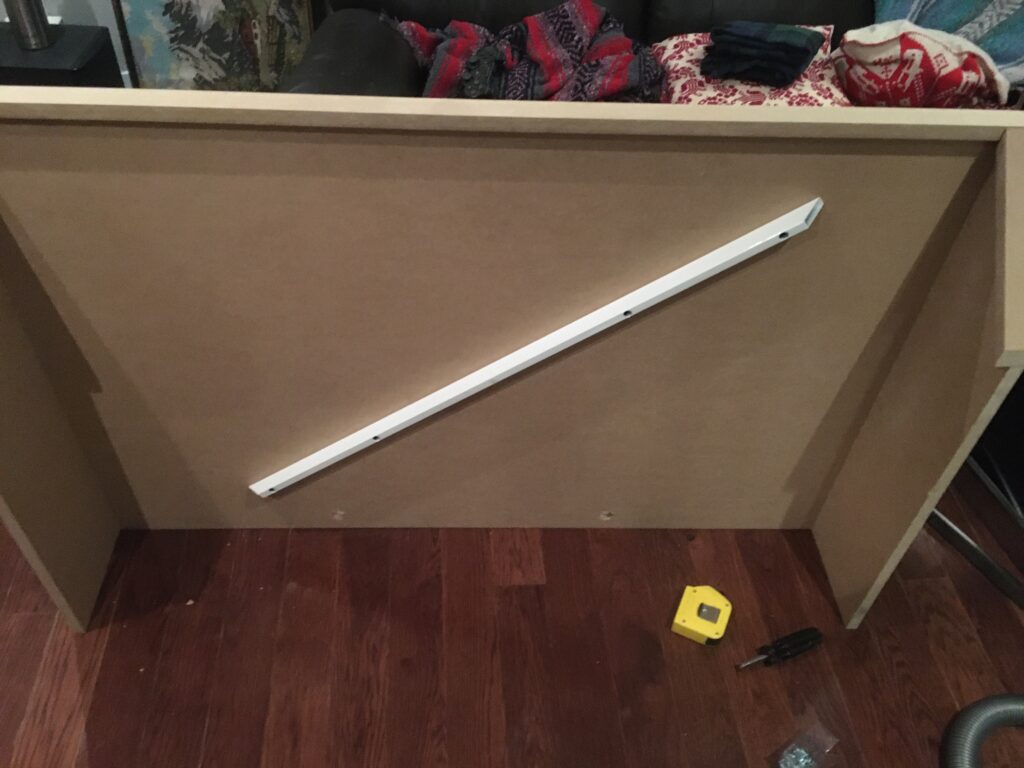
This is a big shelf, “weighing in” at 51″ wide.  Since I had a left over wide shelf reinforcing bar, I’ve used that underneath

My joinery isn’t perfect, and looked pretty bad before sanding, especially with the glue smears, showing.

After a hand-sand this looked much better.  Only the portion at the very front really needs to be sanded, since the rest will be hidden.  I’ve got to pick up my sander from the old house, and give things a good once over before priming and painting.

Because the shelf and the TV are both big and awkward, I’ve installed it temporarily, even though it’s not sanded and painted yet.  This will keep the TV out of the way for now:

Kitchen renovation progress.

February 1, 2020 Home renos ,

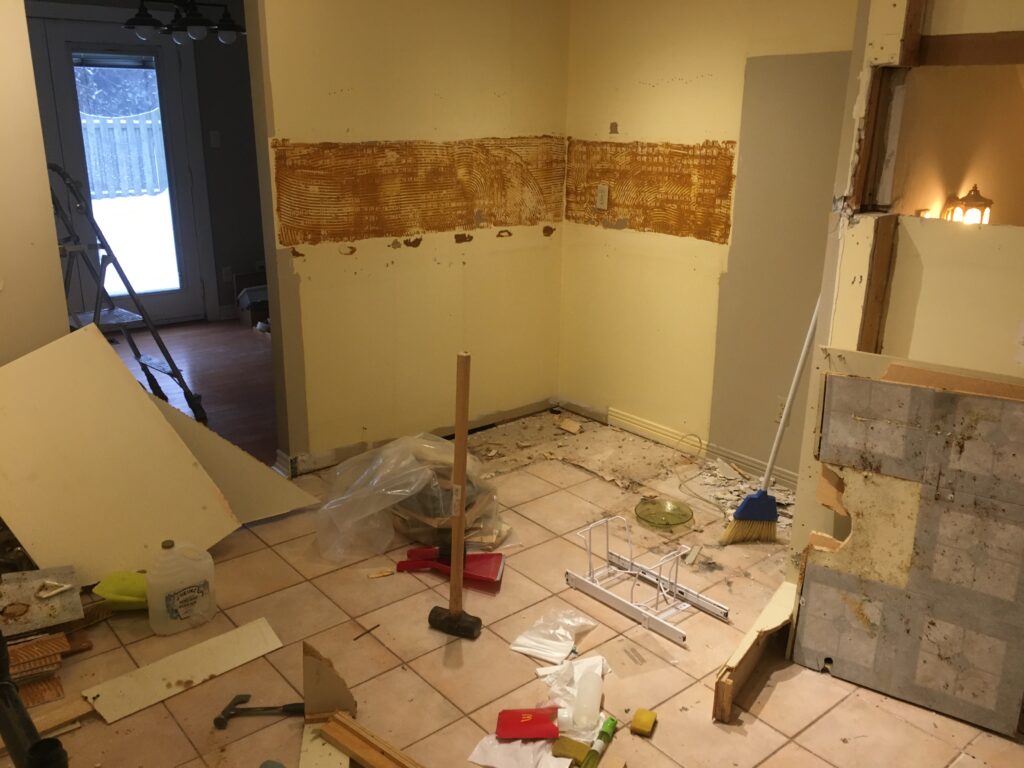
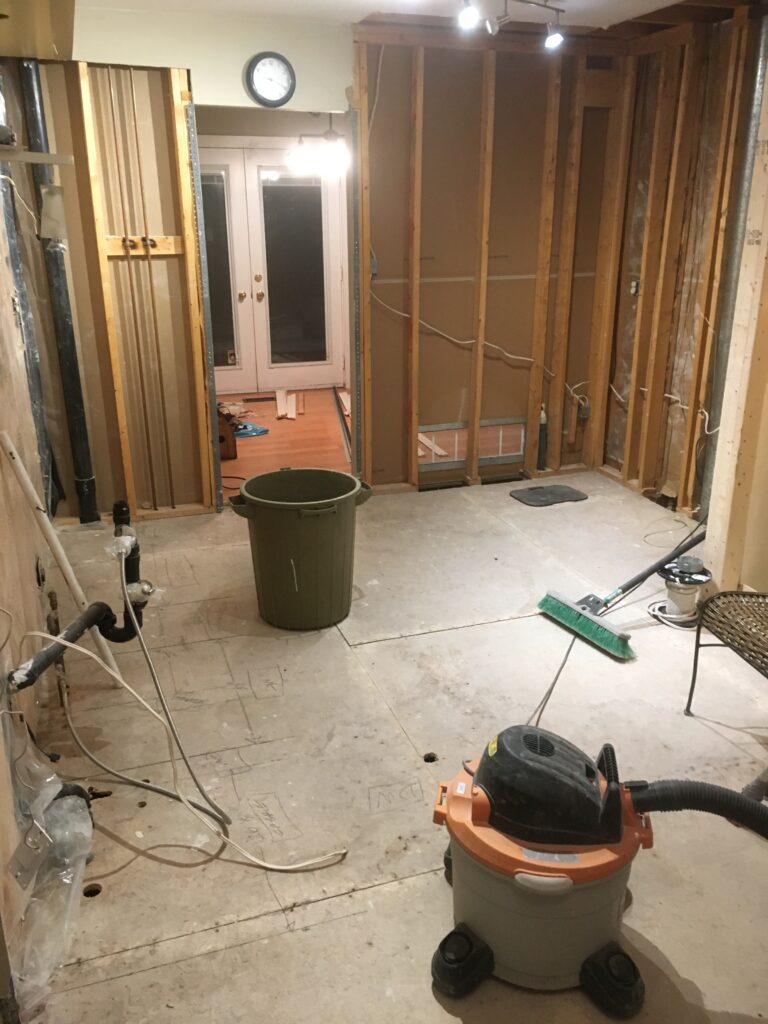
We are making good progress on the kitchen renovation (a _lot_ of it over the last couple days). Here’s a couple weeks ago with the cabinets and backspash removed

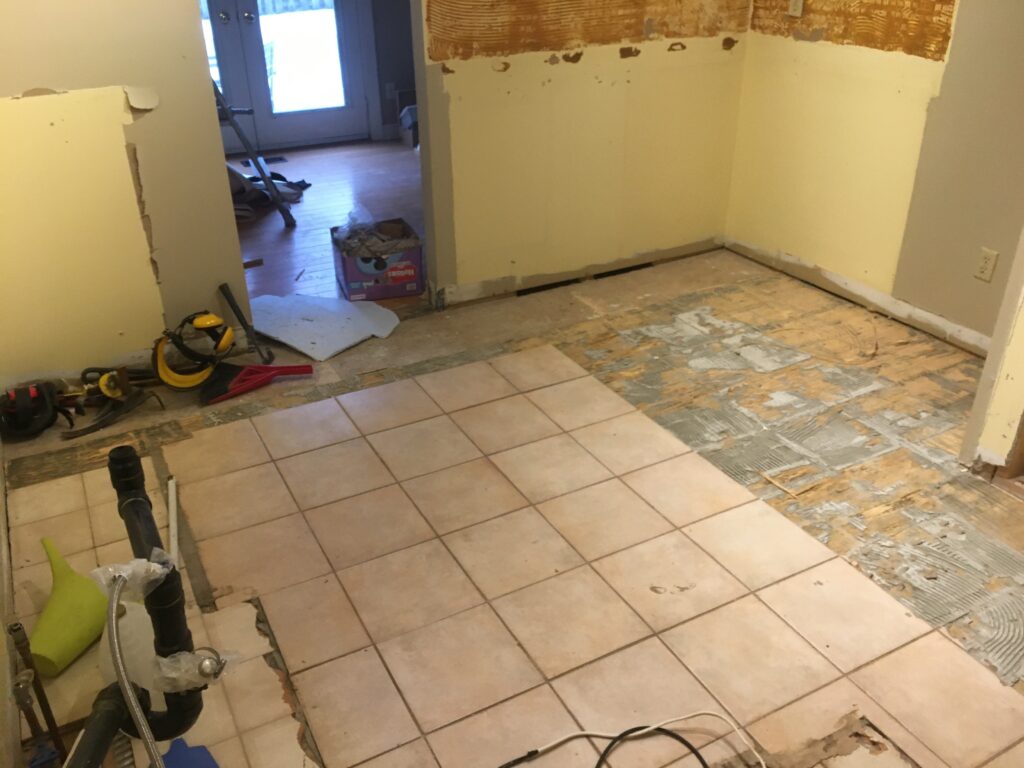
then Friday with some of the tile removed:

yesterday, with the tiles, subfloor and unsavable drywall removed

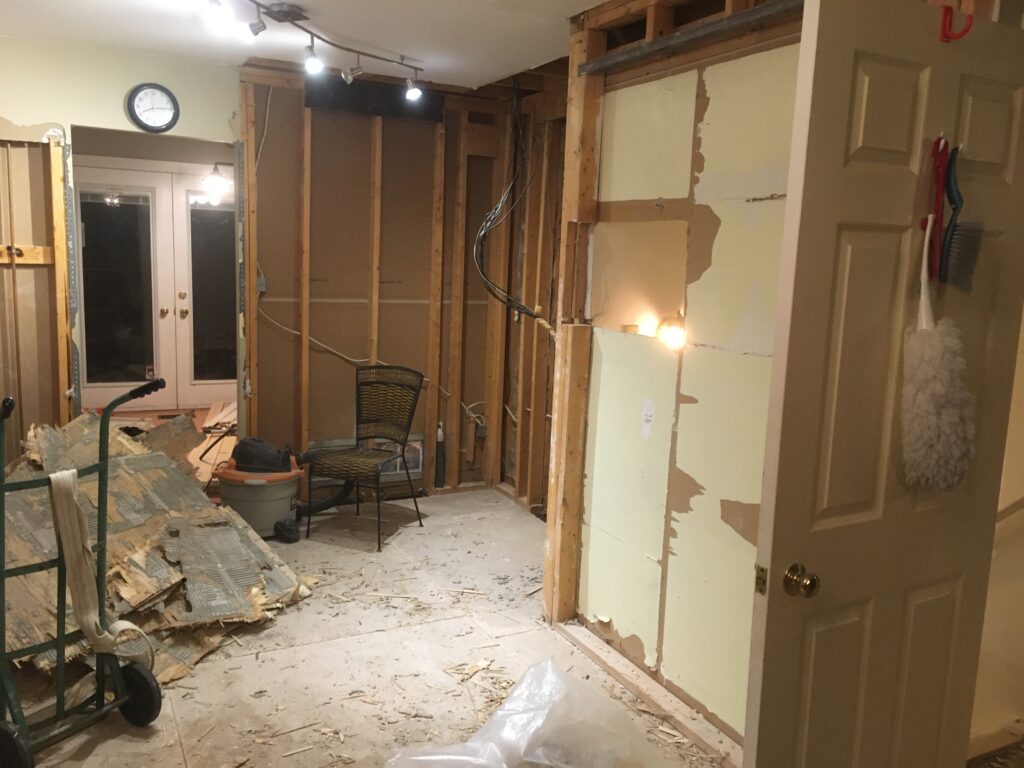
and finally today, after piles of back breaking work and bruises and scratches (removing old tile is not easy!), we’ve got things cleaned up

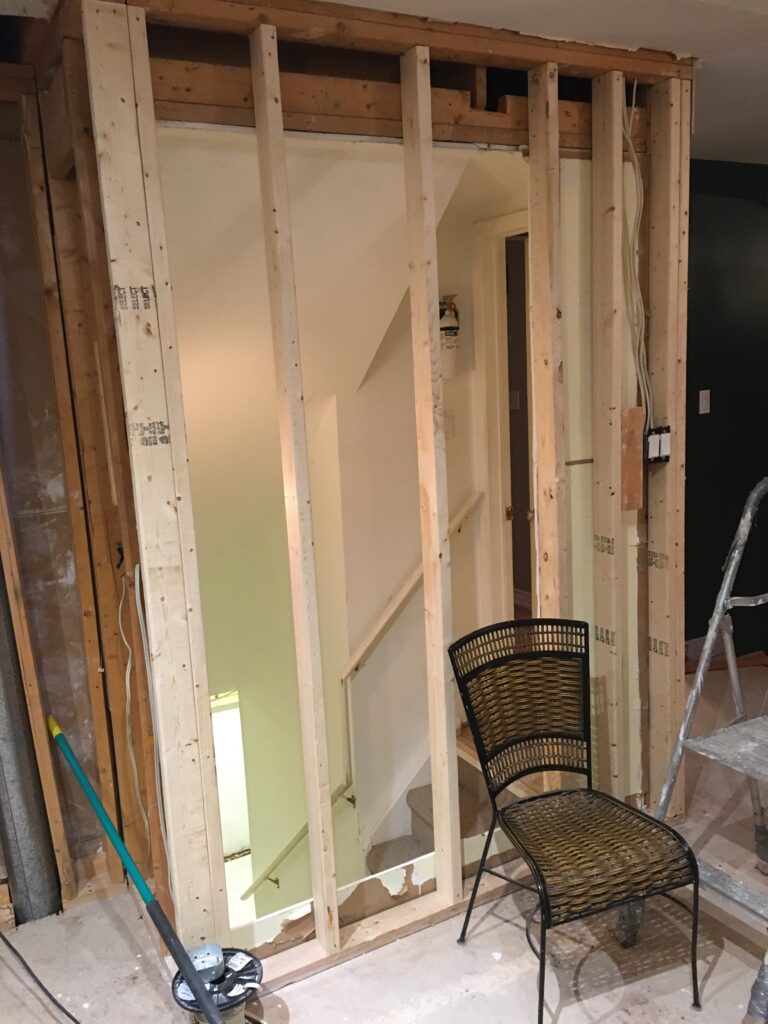
The wall that had been butchered by the first owners of the house is rebuilt, ready for new drywall on both sides (no more microwave cavity in the stairwell.)

We’ll have to take out the electrical outlet in the stairwell, and fix up the stairwell sconce, which had been “installed” without a standard octagon box.

I was glad to see that the kitchen outlets were all run properly, so we don’t have to cut into the subfloor to run new lines back to the panel.

Next steps:

  • choose and order tile, and underlay material
  • rough in plumbing
  • drywall and flooring installation
  • priming
  • cabinet and appliance installation
  • trimwork and finishing.