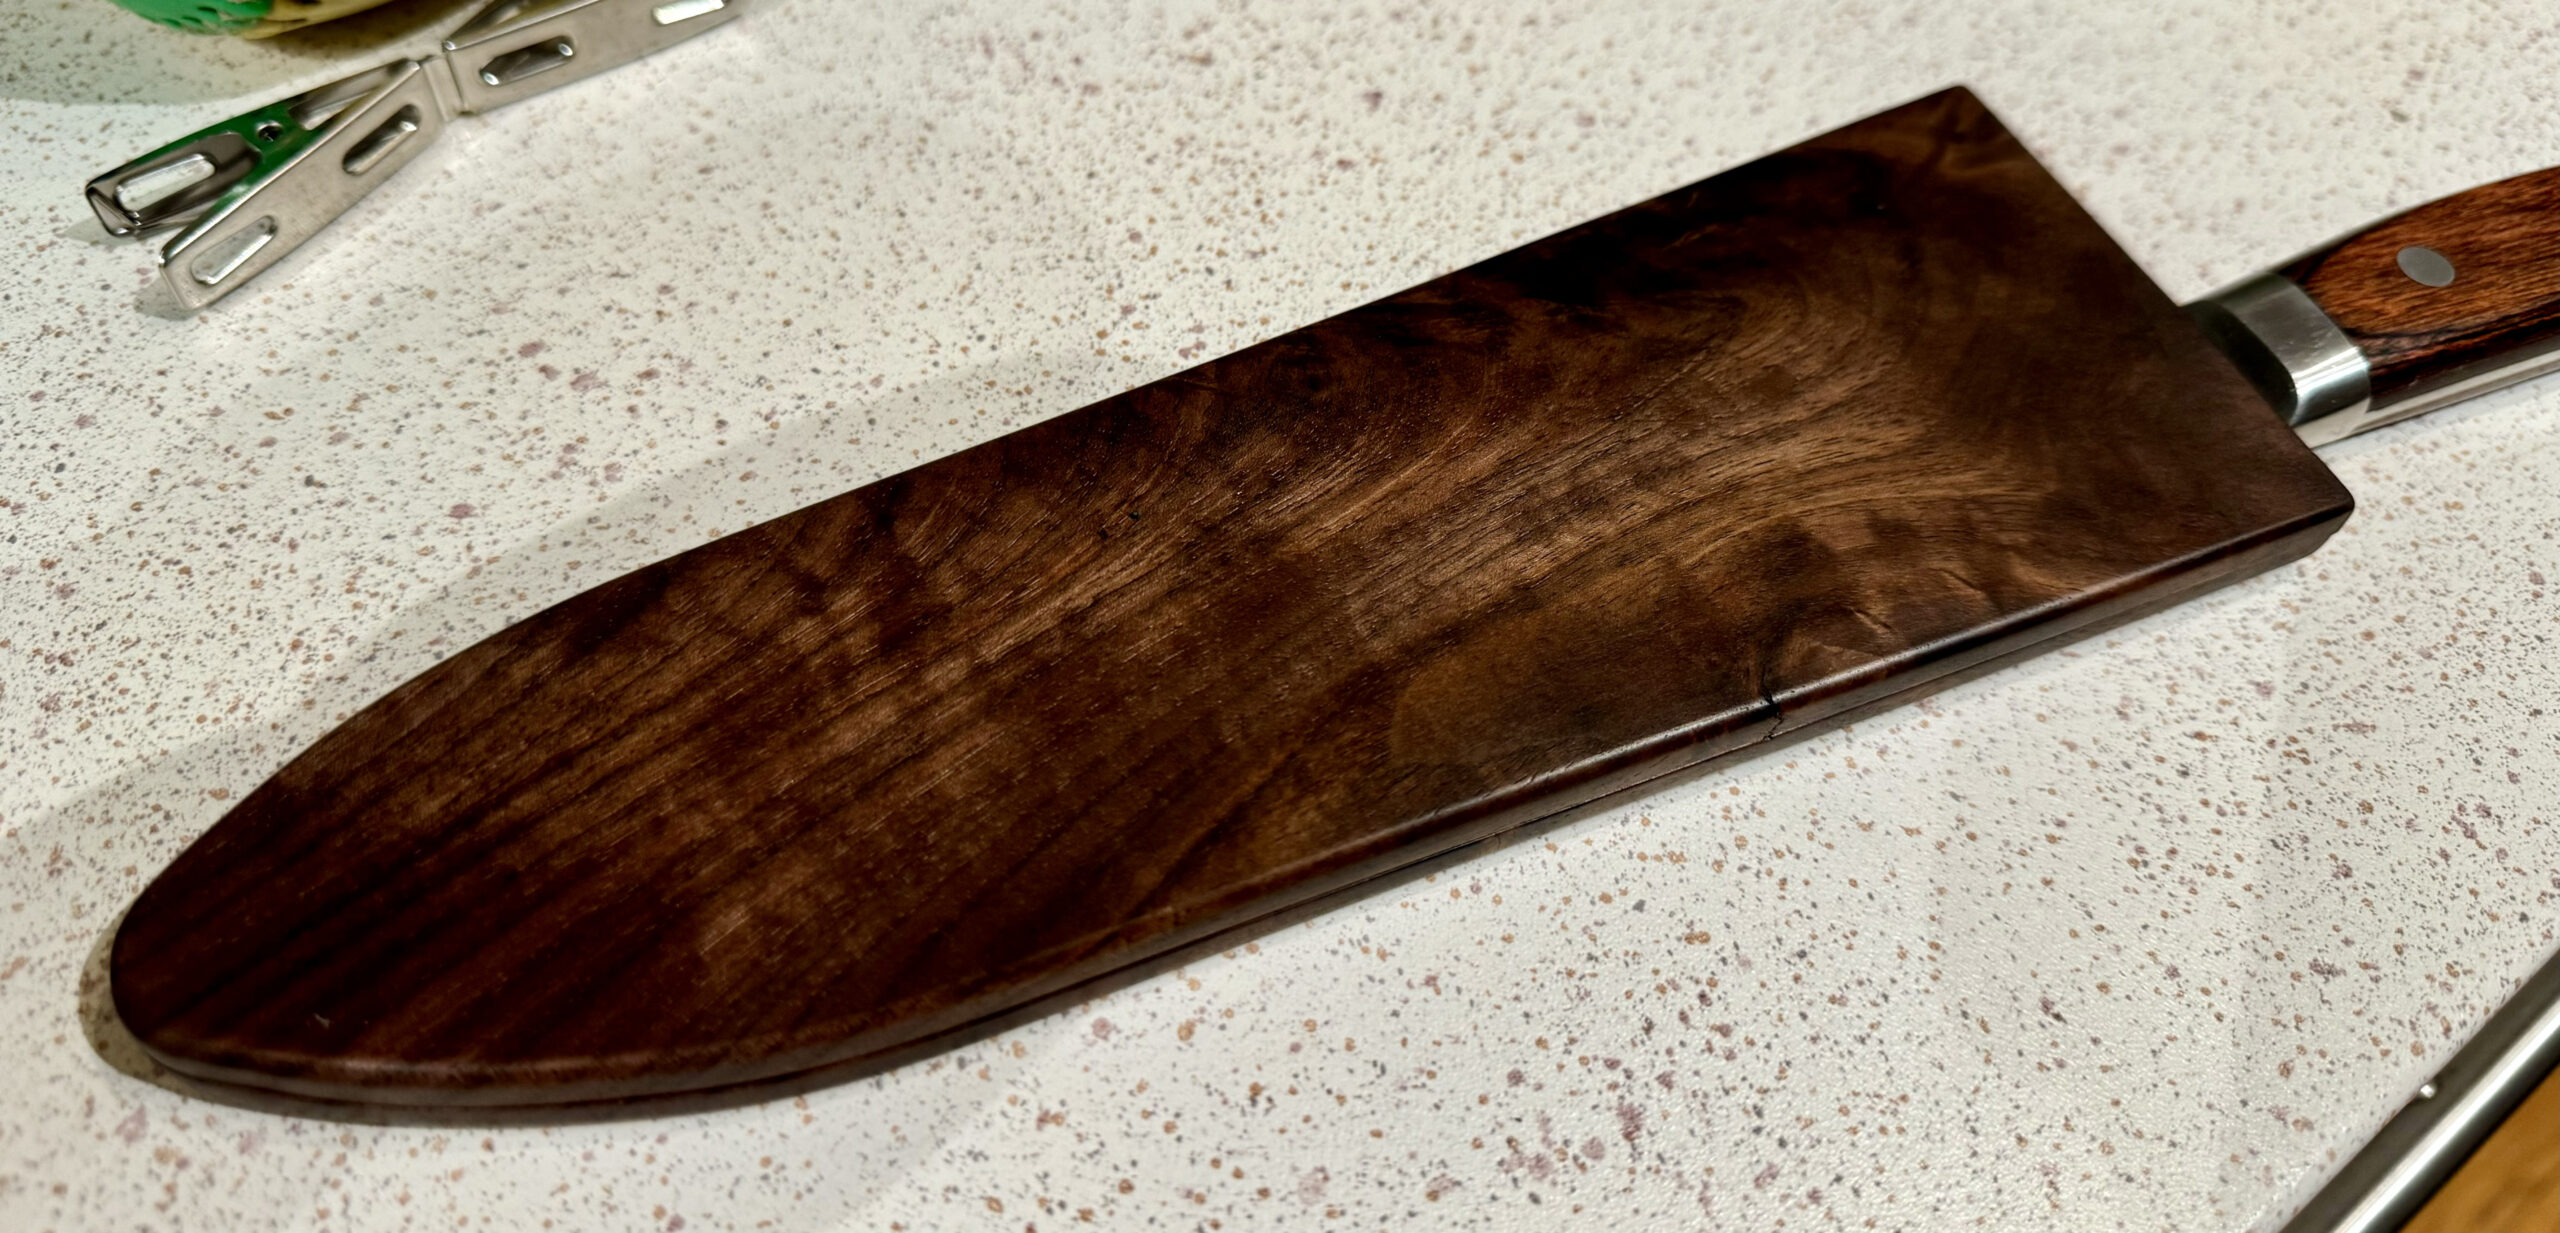
My daughter Aurora has a (beautiful and wonderfully sharp) kitchen knife that has a lost sheath, so I made a replacement sheath from a 1″ thick piece of walnut that had really nice figure. Here is the final result
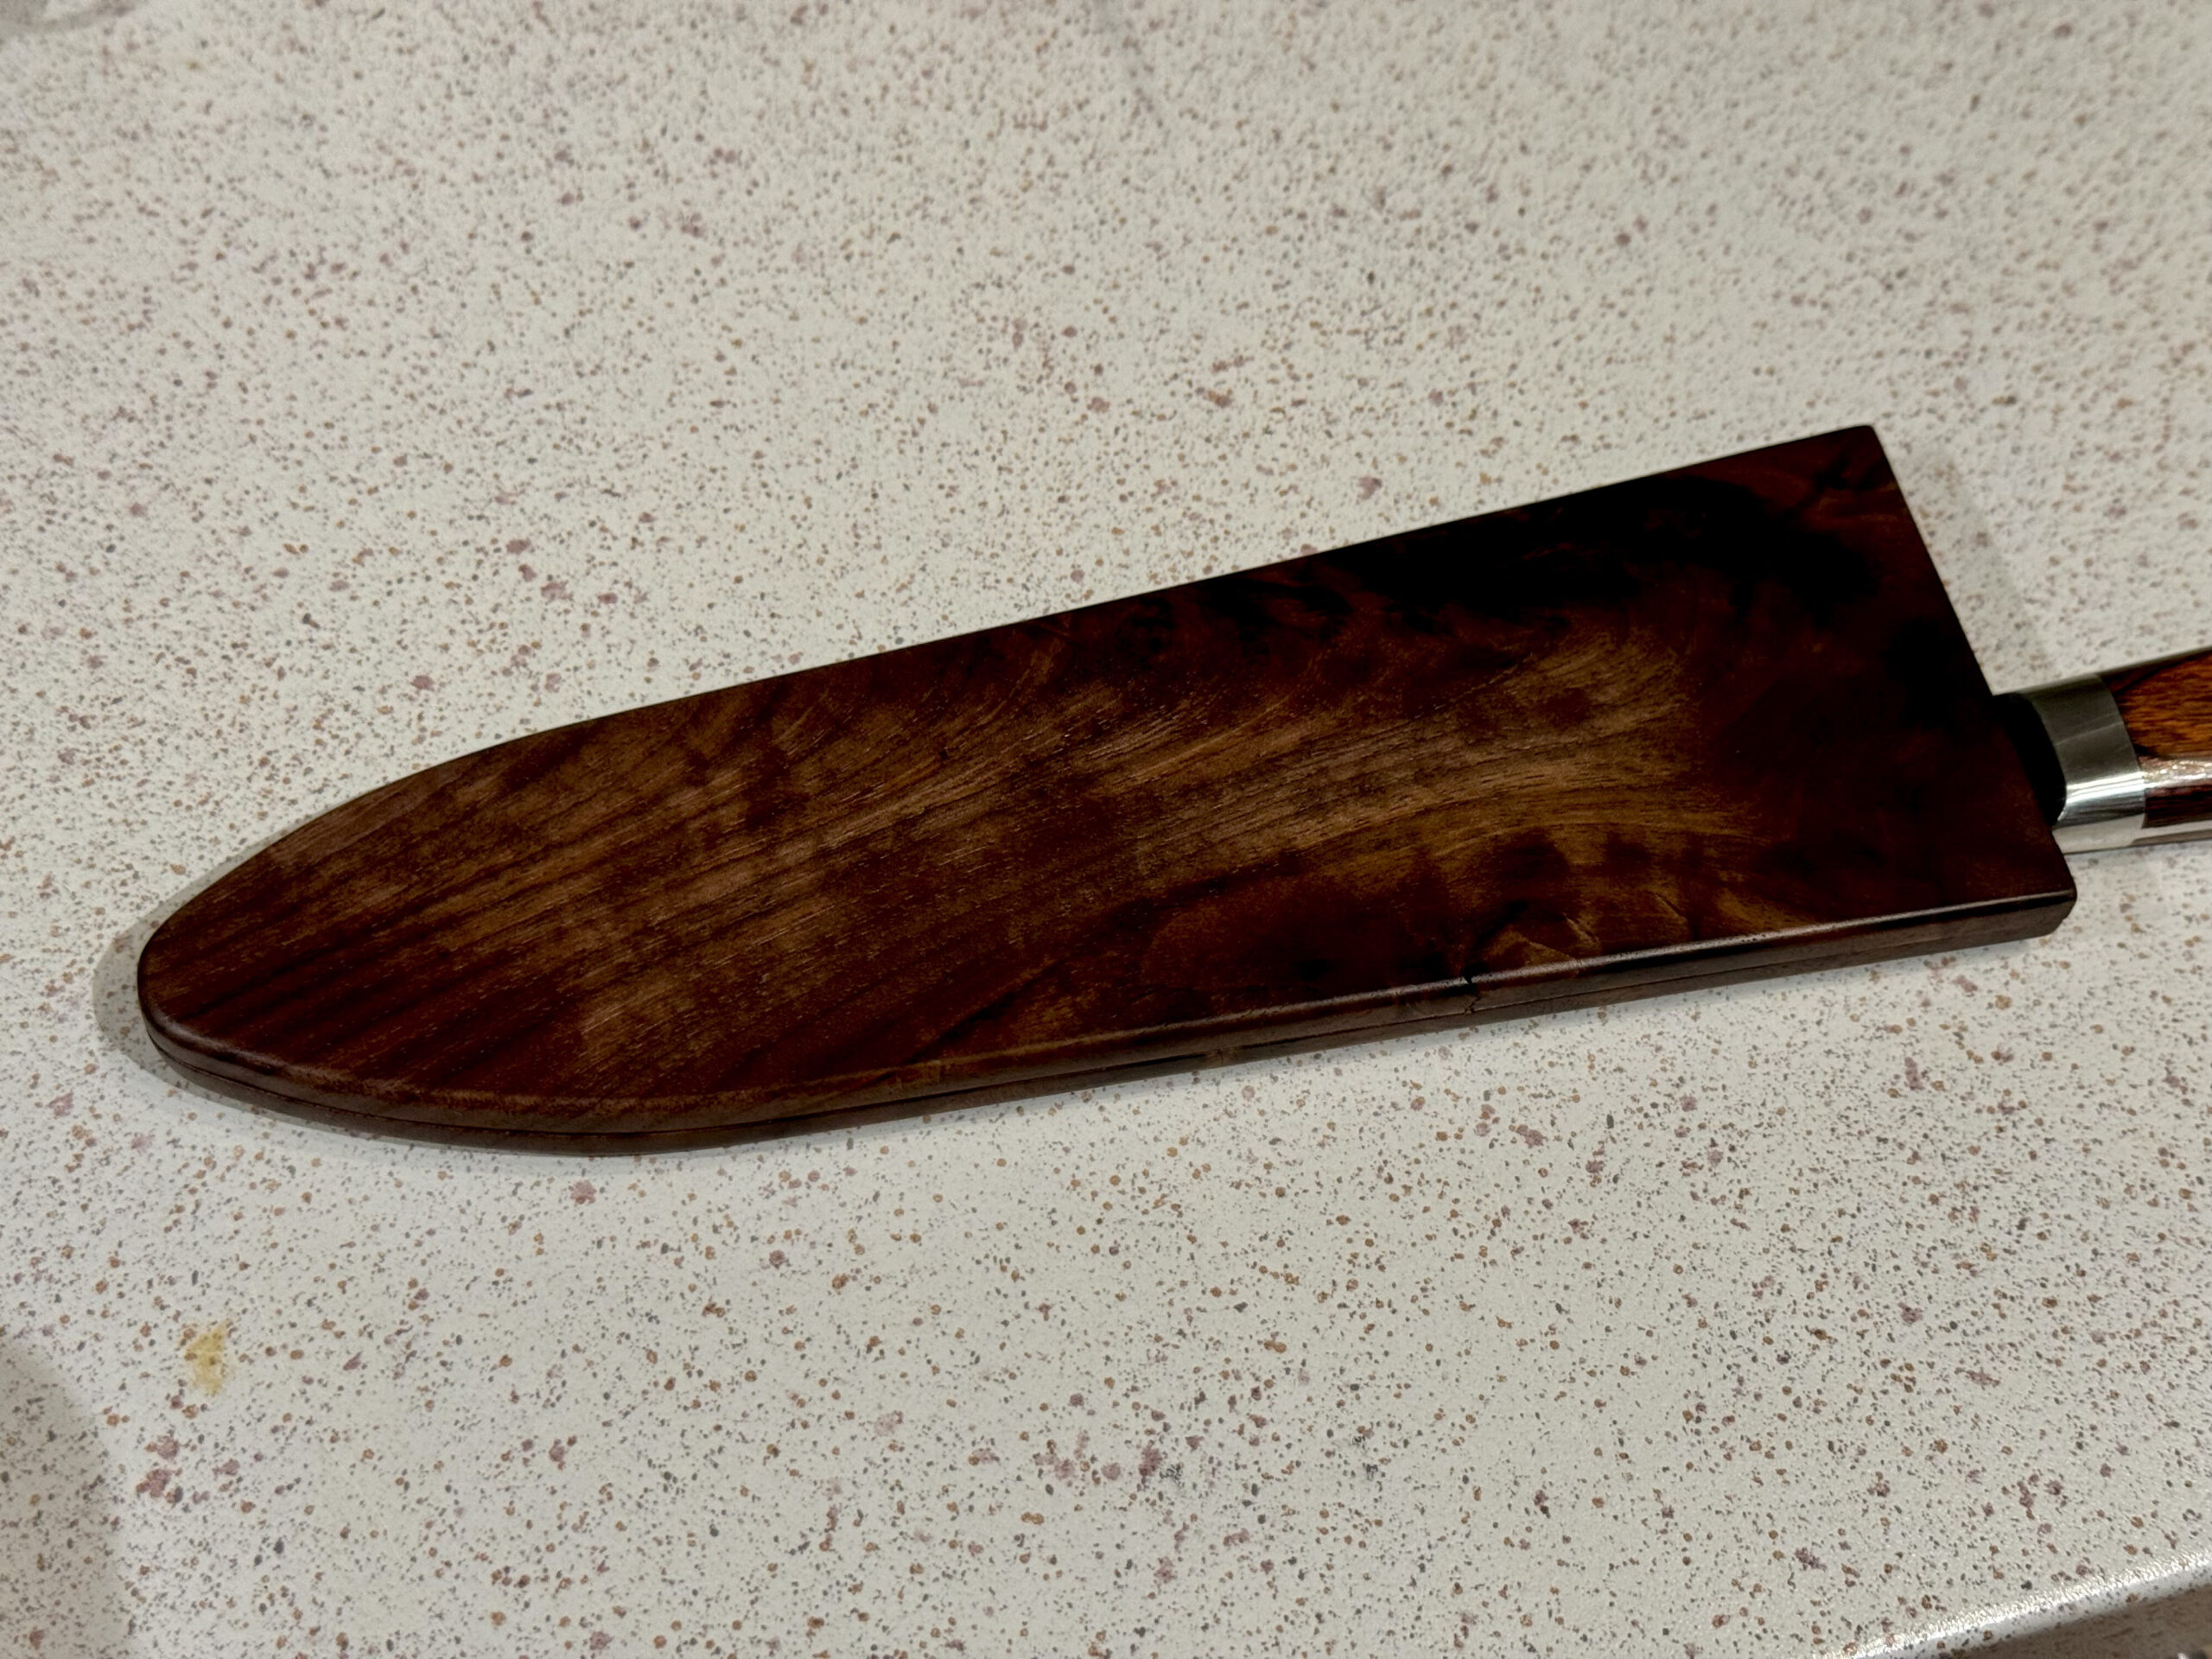
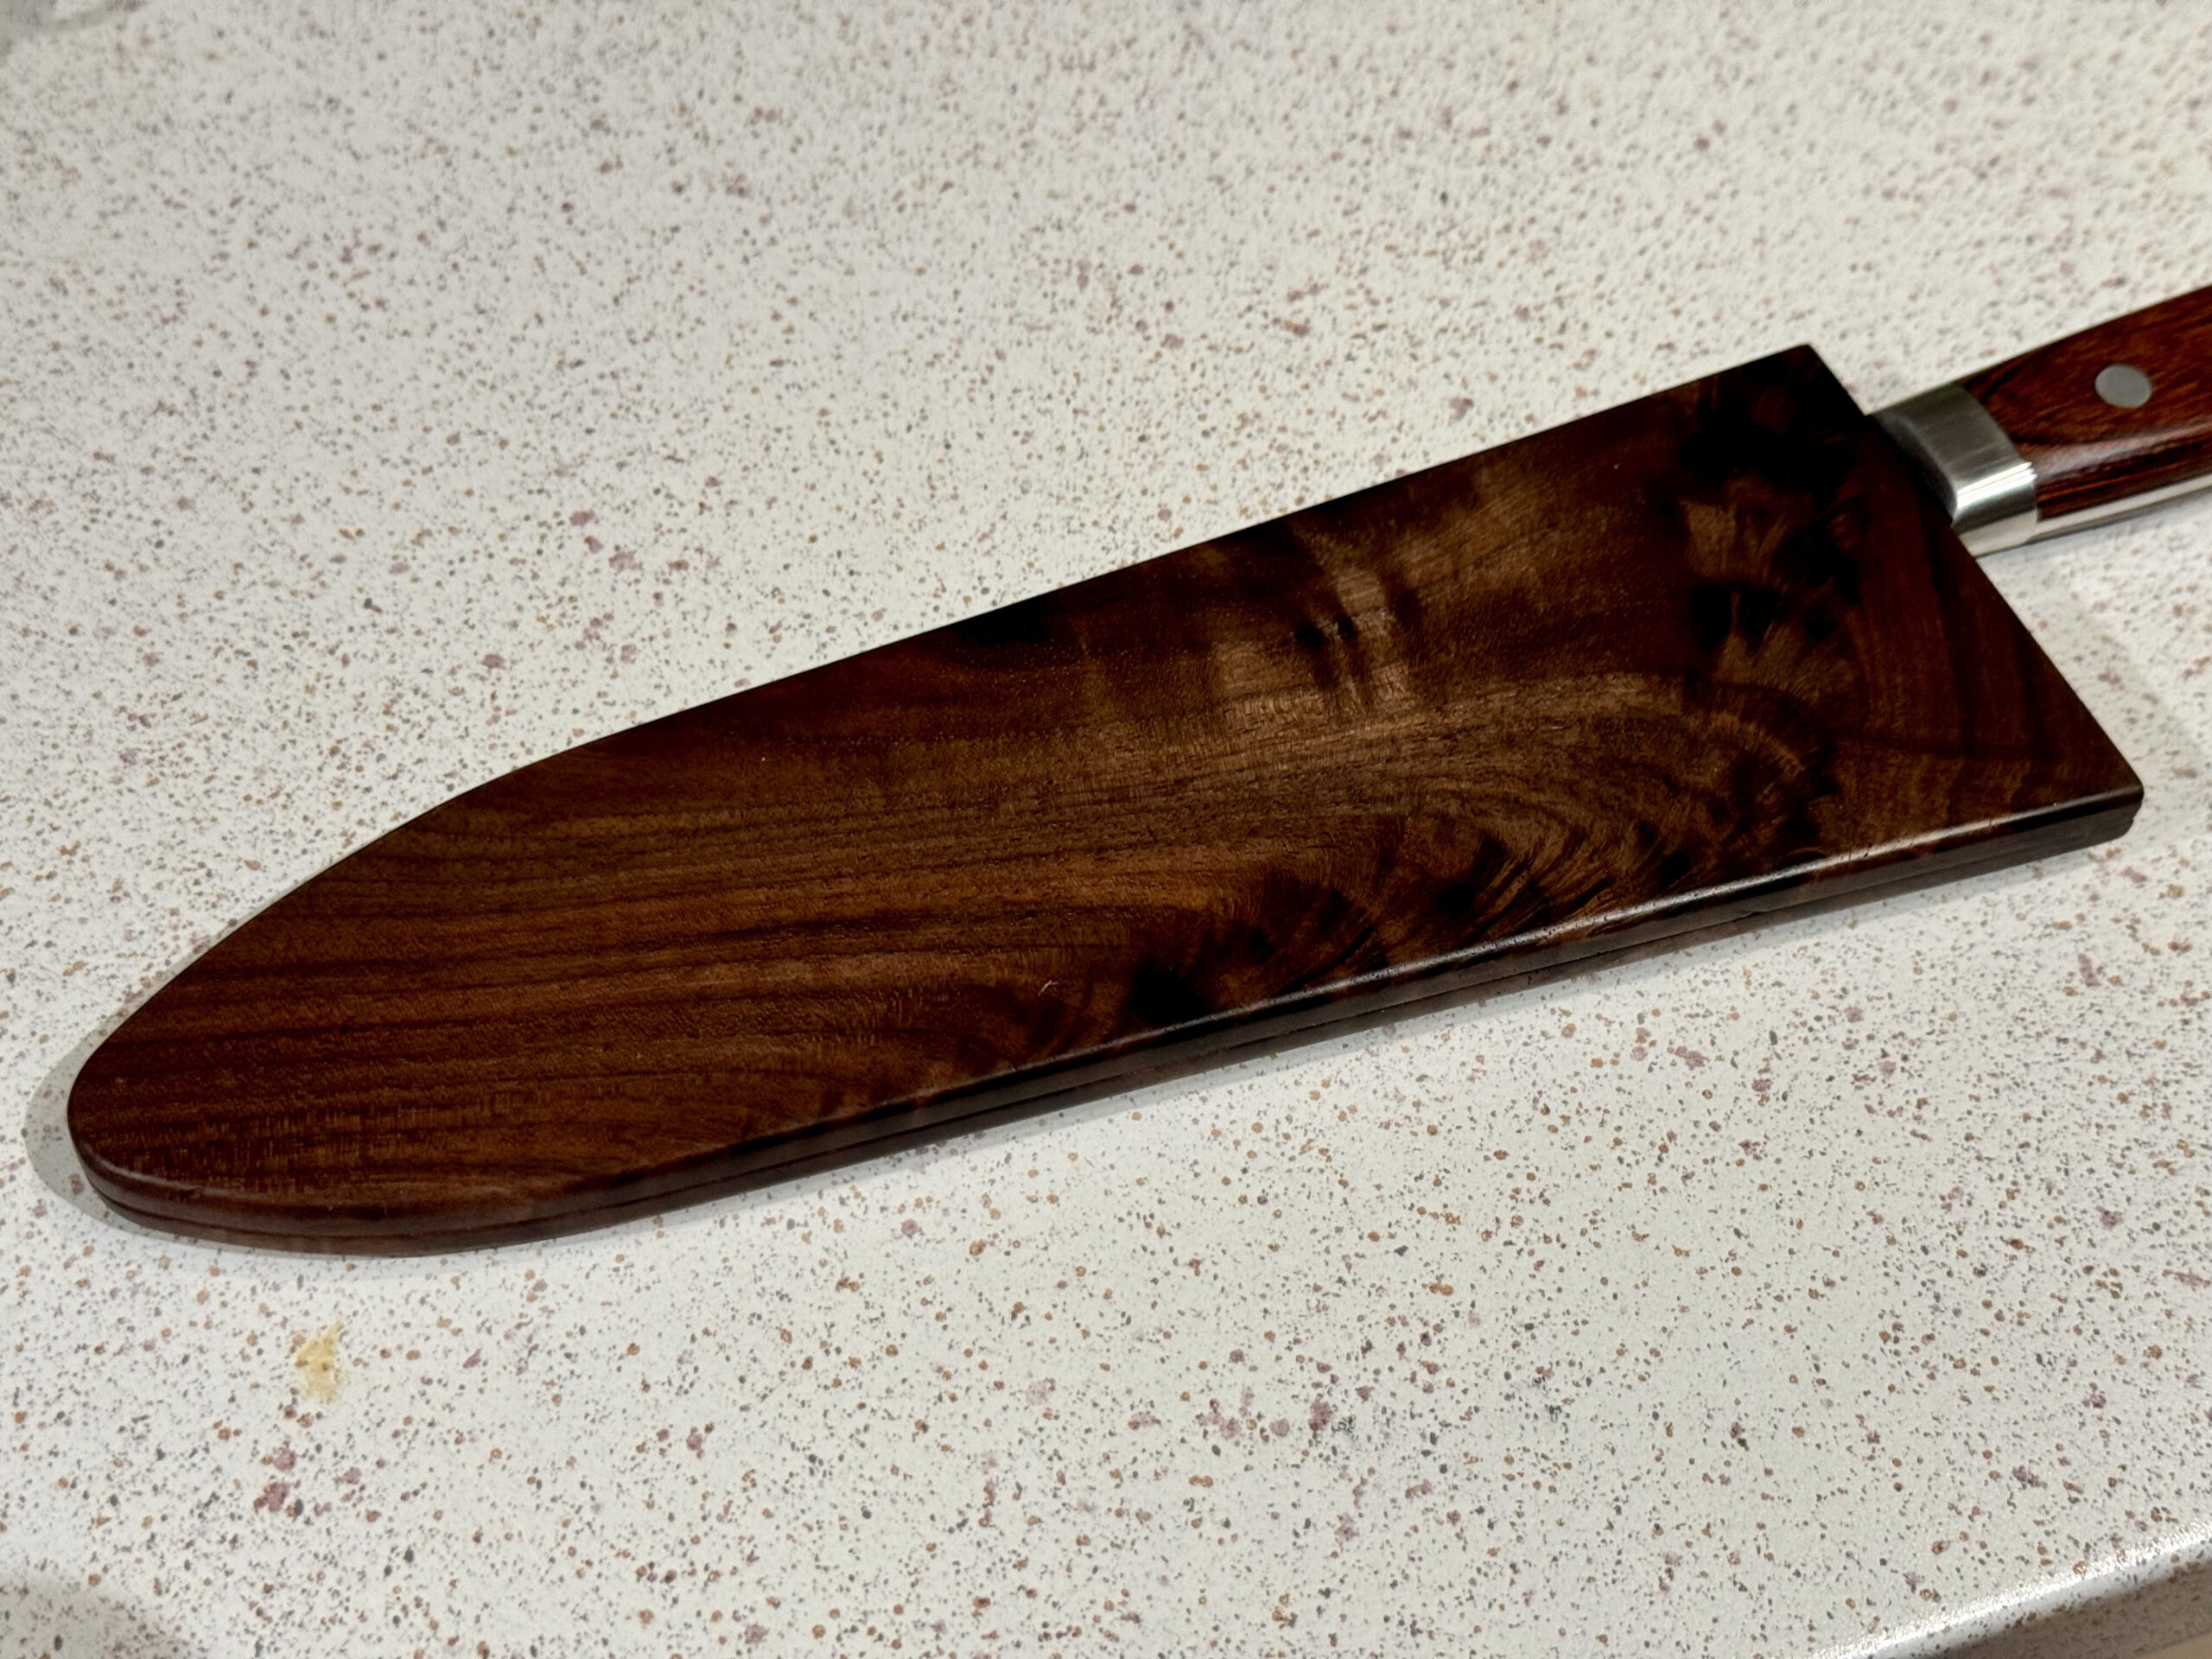
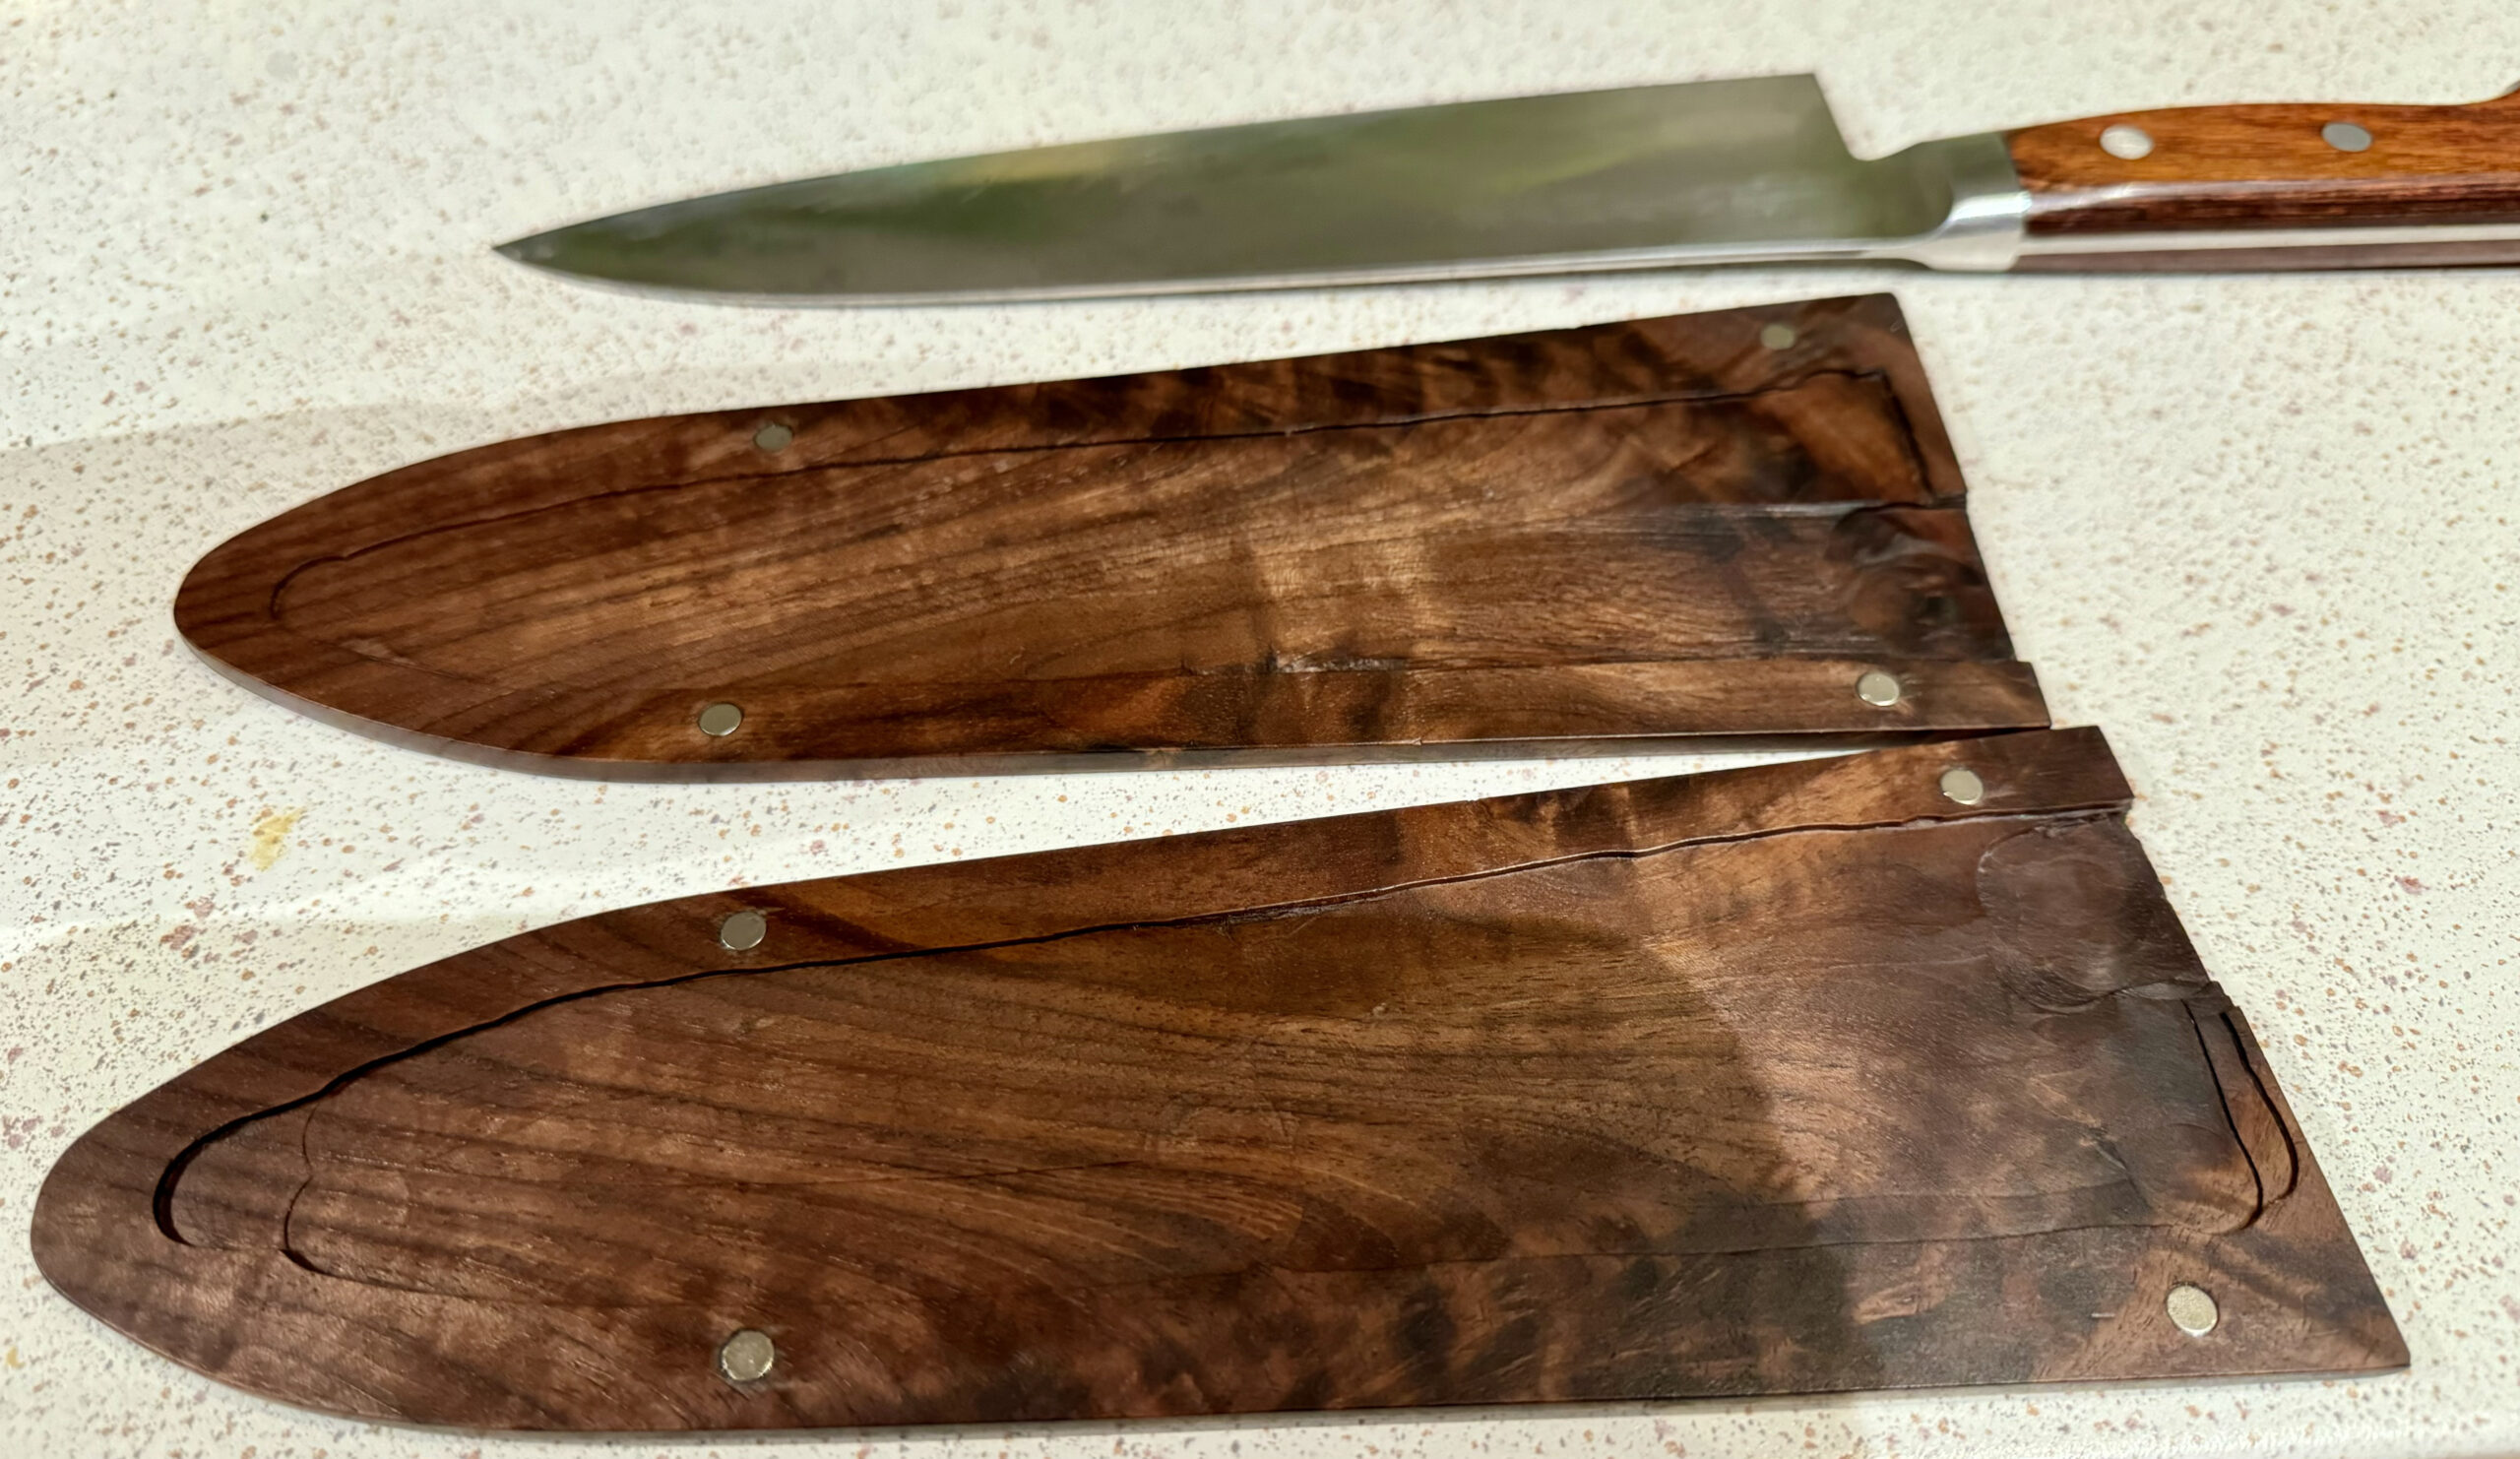
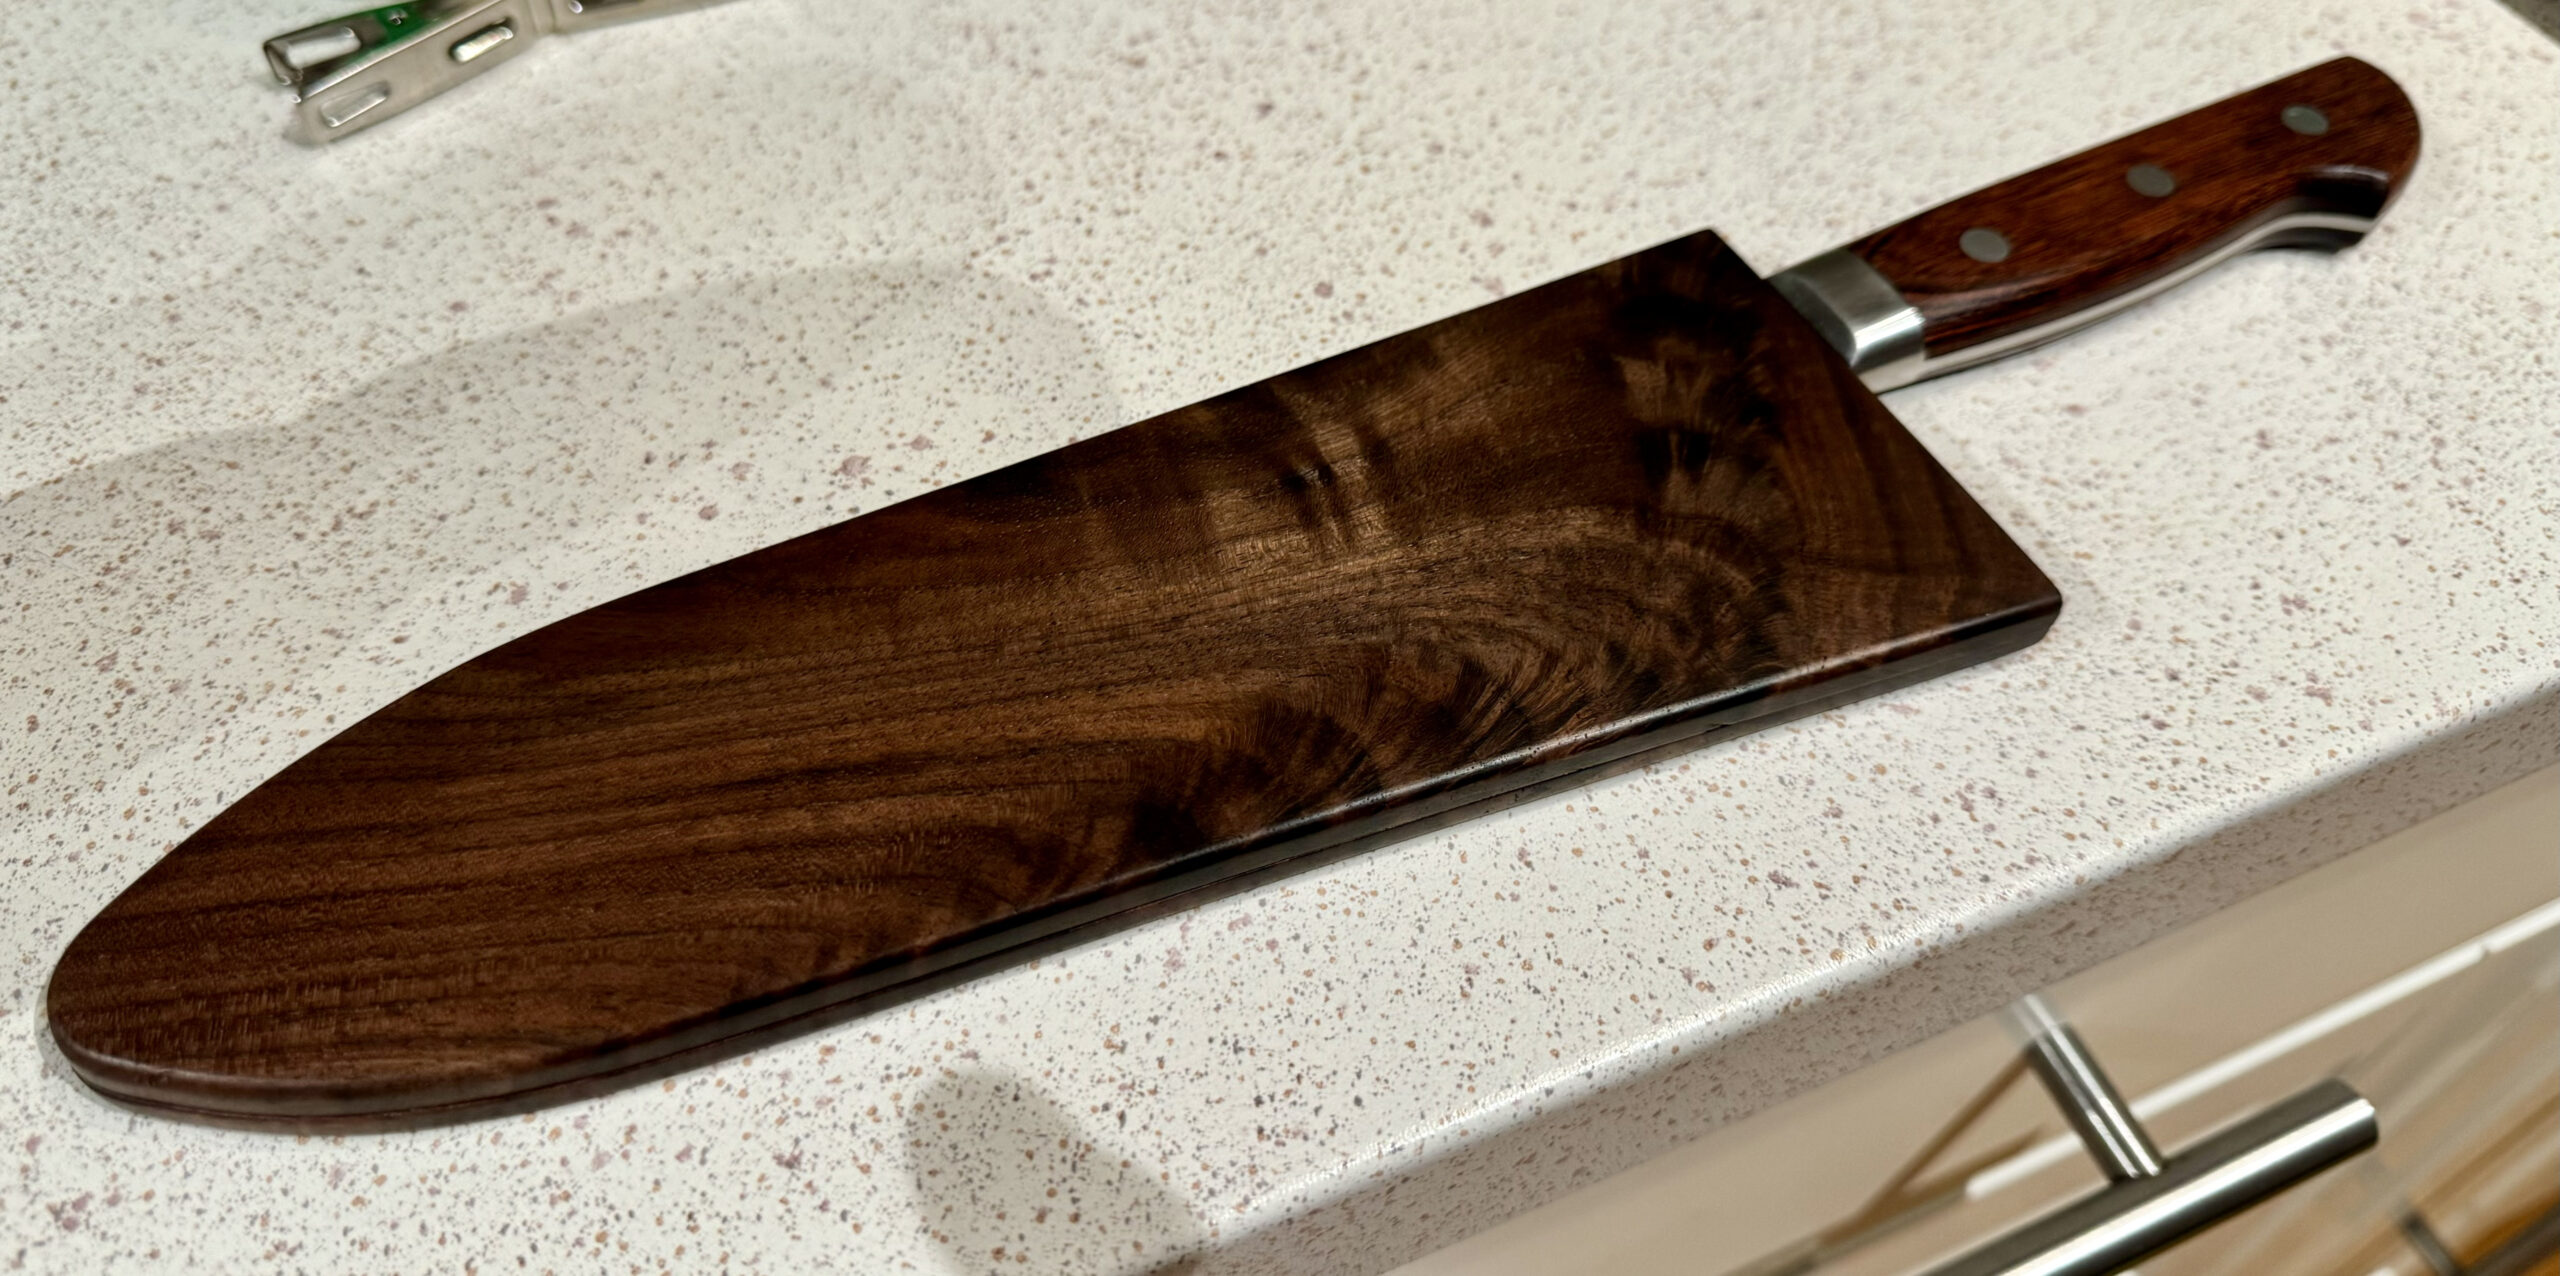
The sheath has two halves, with a routered out section in the interior that the knife blade fits into. As this was a one time project, I didn’t make a template for that interior routering, but just did it by hand. The inside doesn’t look great, but that part doesn’t really show. Four little 5mm magnets in each piece allow the two halves to snap together around the blade.
I posted a video showing the knife on Google’s censorshipTube, and got one critical comment about (paraphrasing) that was along the lines of “just one twist of the blade with pop the halves, voiding any safety that the sheath provides.” That comment is true enough, but it is not as if this sheath is going to be used on a knife belt. Instead this is for static situations, where the knife isn’t in use, and for storage. It’s also for just plain looking awesome, while the blade is not in use, which I think it does. The magnet latching has just enough strength that it stays on when desired, and comes off when desired.
On the construction.
The board I started with was a strange shaped one with a large defect, and a U shape. I cut off a 5″ strip (one arm of the U), and further cut that down the center into two 3/8″ halves. I don’t have a band saw, so I scored it down the center on the table saw with a very thin kerf blade (actually a thin 7″ skill saw blade), and then used a hand saw to finish the resawing process. Some hand planing after that left me with two flattish pieces.
Cutting the board down the center released a lot of pressure, letting the two pieces bow considerably. In fact, I was quite surprised just how much bowing occurred after that sawing.
I dealt wit the bowing by flattening the two halves to a thinner width than I had originally intended. I did the flattening with my planer (I don’t have a jointer), shimming the pieces and hot gluing them down to a flattening jig (i.e.: a board), then running them through the planer until I had two flat’ish boards, instead of my two bowed pieces. I started at close to 1″ thick, and ended up with a total thickness of about 1/2″ instead!
Once I had two flat pieces, it was just a matter of shaping them, cutting a cavity for the blade, embedding the magnets, some sanding, oiling and finally waxing.
Embedding the magnets was actually a bit tricky. I ended up buying a set of metric brad point drill bits to get the correct sized hole (and had to be very careful to not go too deep as the brad point bits have a long tip.) I used a bit of epoxy glue to set the magnets, but the hole clearance was so tight that too much epoxy didn’t let the magnet go all the way in (i.e.: too tight for squeeze out.)