Before we finished the kids half of the basement (2 bedrooms, 1 rec room, and a bathroom), I ran a couple cat5 cables through the ceiling alongside the cable modem line. I didn’t know if I’d ever need them, but it seemed like a good idea at the time.
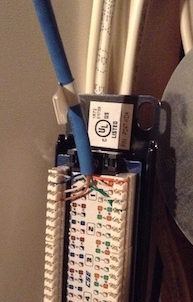
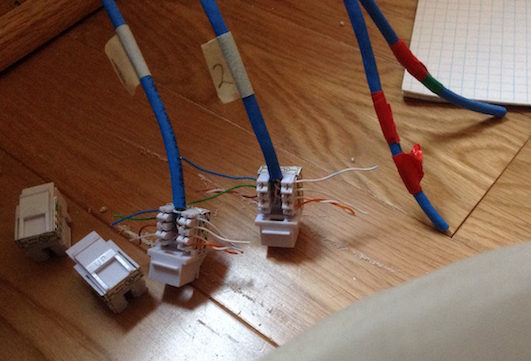
Now that I want ethernet lines in other parts of the house, I’m really glad I’d done that. All I had to do was fish the unterminated lines out of the wall and put a couple jack inserts on them. I bought a cheap non-cutting push down tool from home depot a while ago and finally got to use it:
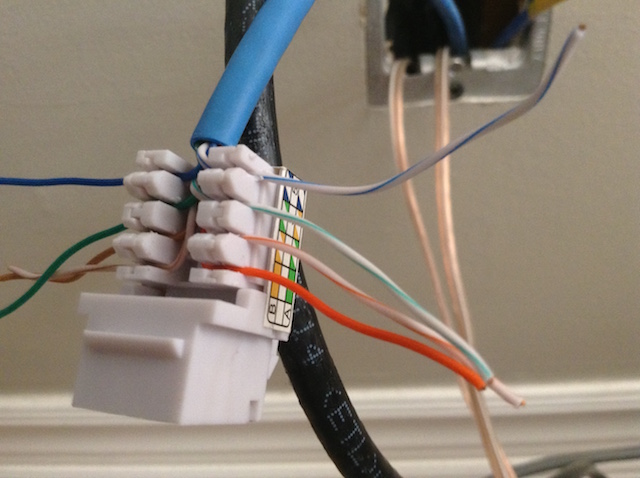
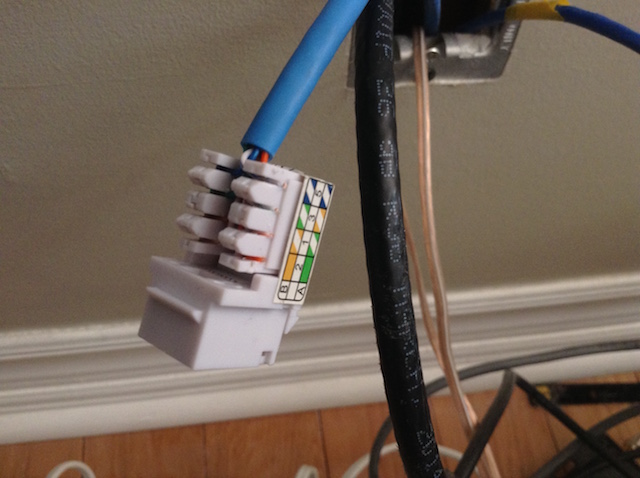
Because the push down tool didn’t have a blade, I just used an exacto knife to cut the lines before capping the jack inserts. That worked very nicely since there is a small lip on the jack insert, and you can cut the wires right against that easily.
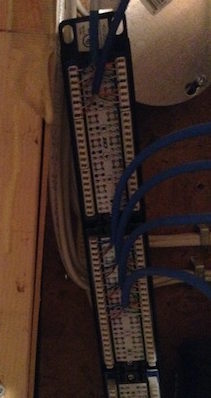
Next step was terminating the lines in the basement on the patch panel.
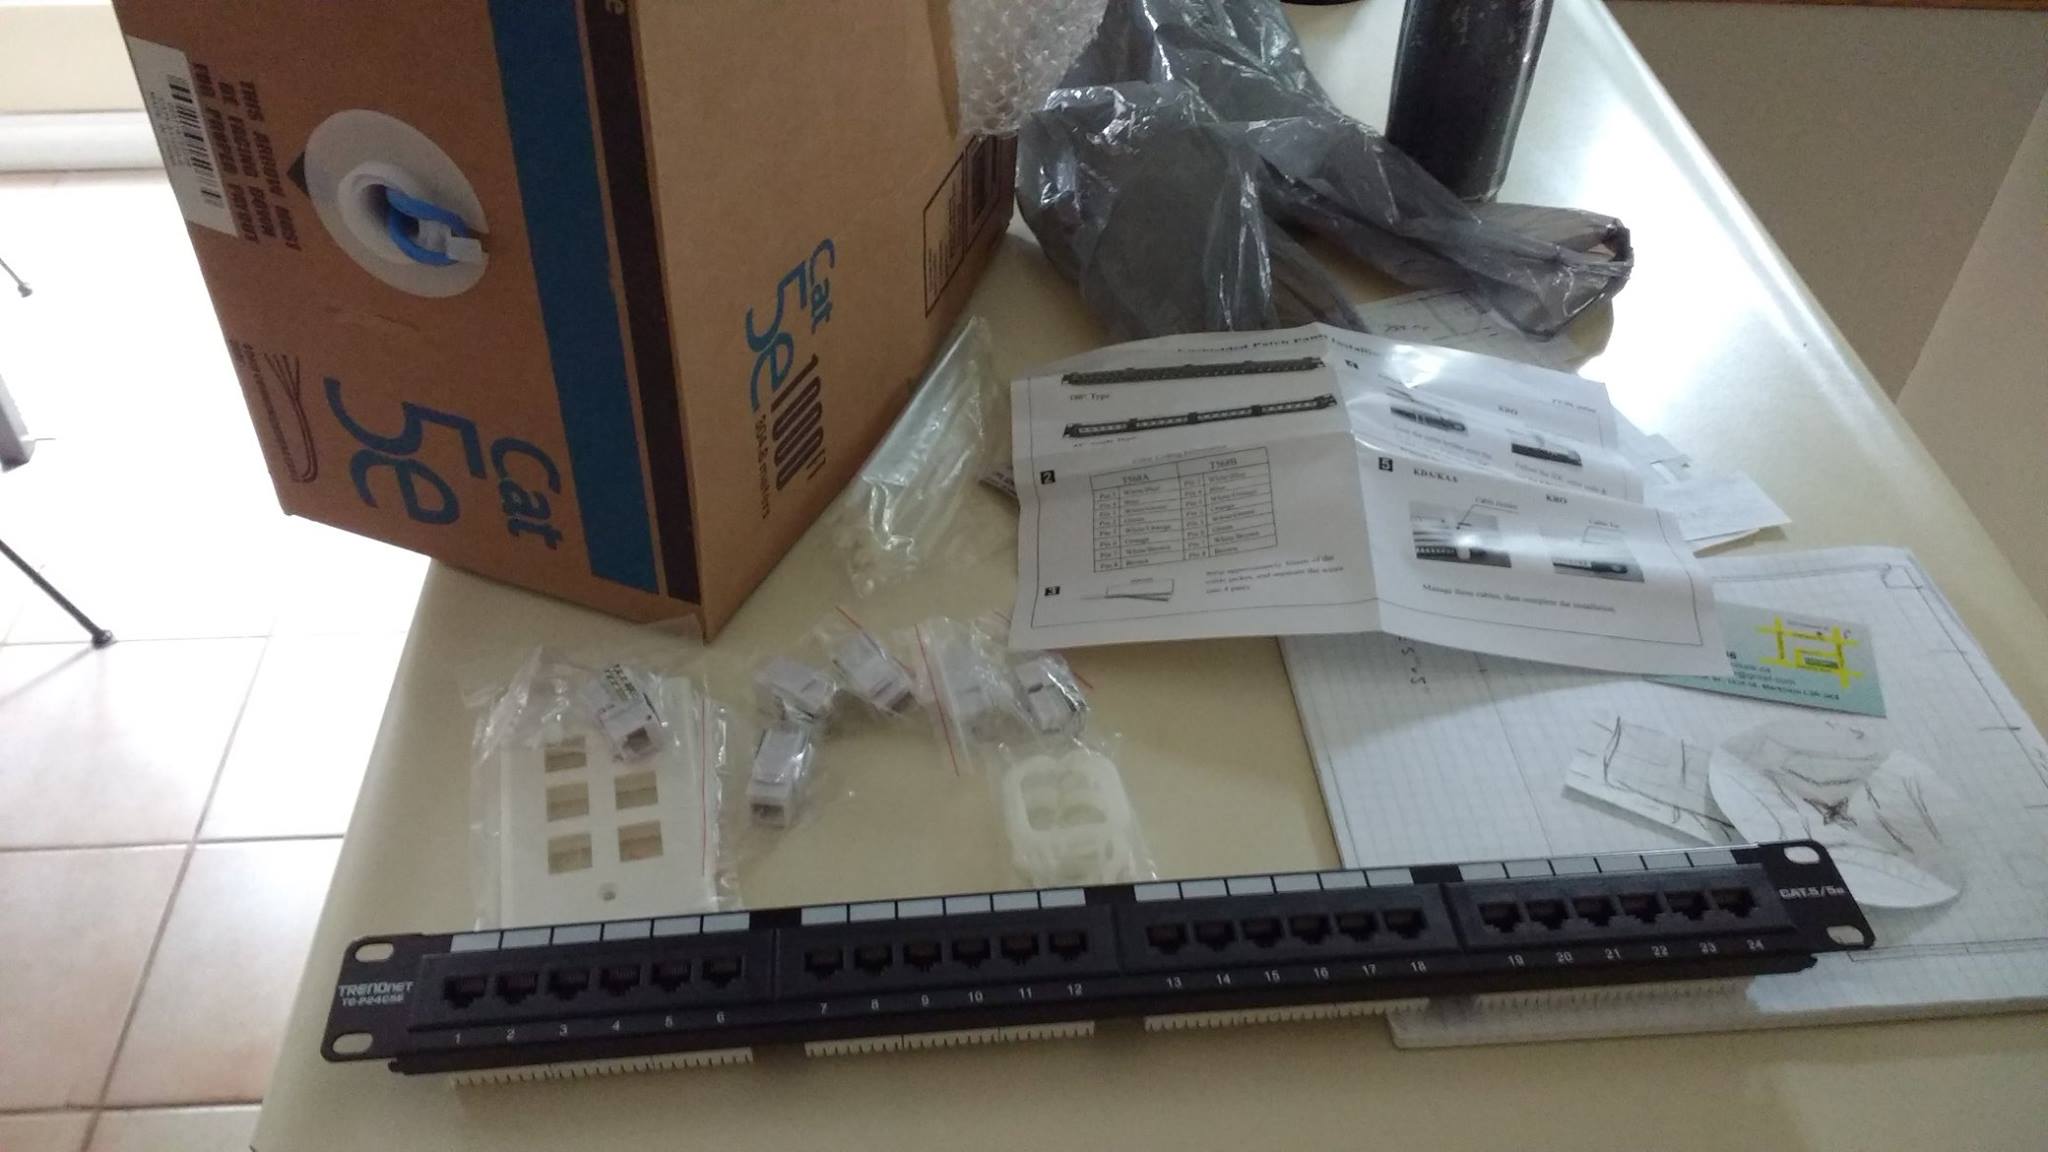
That was a bit easier to do since the wiring block for the patch panel keeps all pairs together. With the jack, it was more random, with some pairs pushed down next to each other, and others opposite.
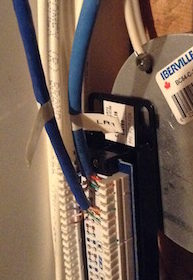
I used the 568B wiring convention. It sounds like that is generally preferred for wiring data, although 568A is sometimes used for wiring phone. I have no intention of ever simultaneously running both phone and data through any single wire, so I don’t think it really matters which of the conventions to use (so long as I do the same thing at both the patch panel and the jack insert).
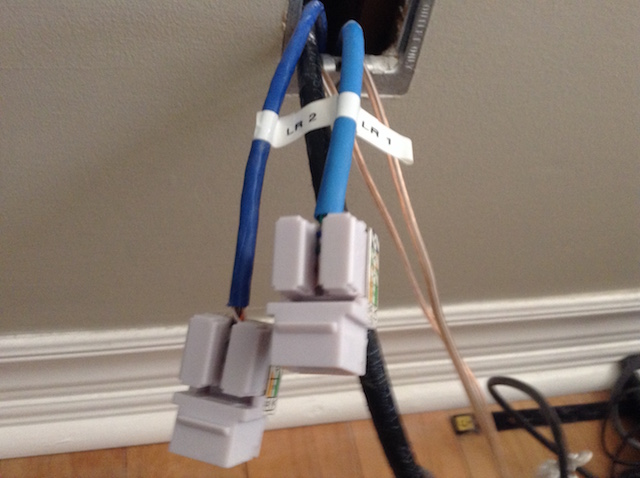
Next step was testing the connections. I bought a cheap ethernet cable tester at Sayal a while ago when I saw it on sale, so I got to play with that too.
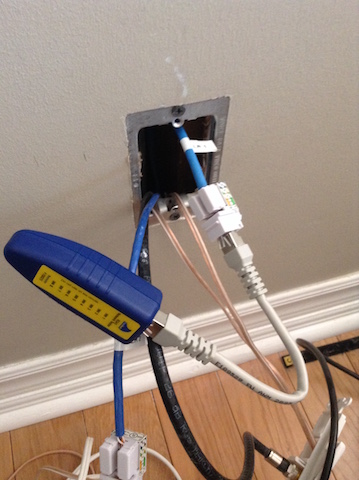
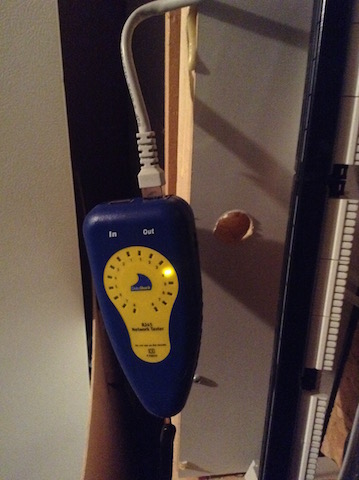
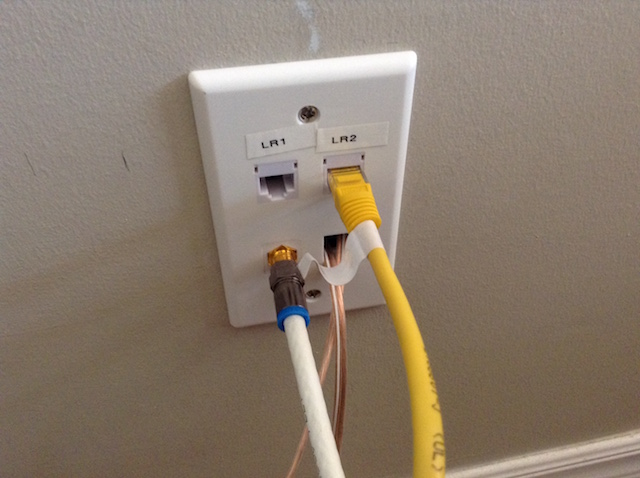
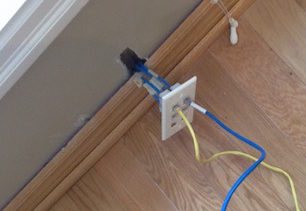
I saw no red lights at either end as it proceeded with the wire check cycle, and the termination point sequence was monotonic as desired. With both cables tested, I was ready to put the plate on the wall. I’ve got speaker wire for the rear surround sound speakers coming out of that too, in a rather ugly fashion. Eventually, I may try to figure out what to do to pretty that up, but most of the time I don’t think about it, since it hides back there sight unseen.
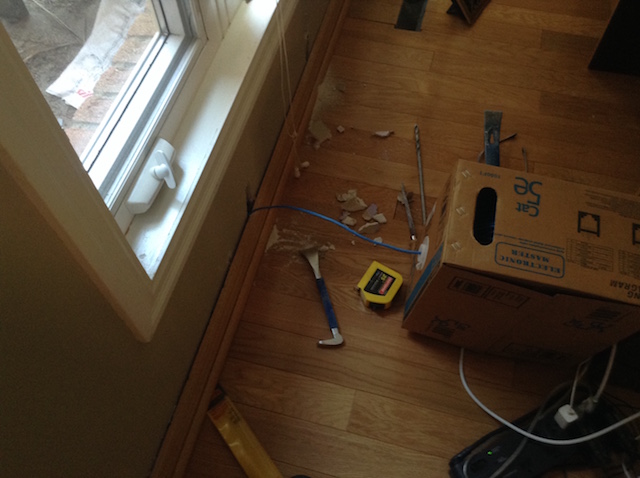
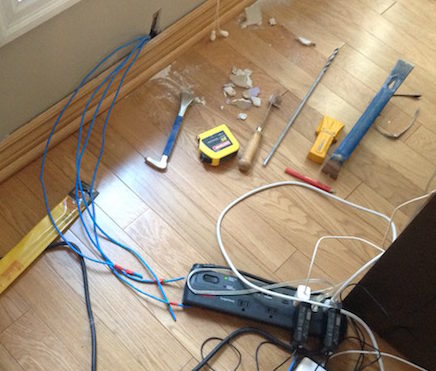
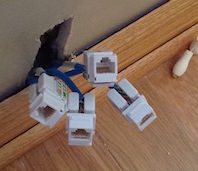
The next step was the fishing trip. I thought it was going to be easy to get through the wall into the unfinished section of the basement below, but I wasn’t able to find a route in one try (I kept hitting rafters and other obstructions). I actually have three holes in the wall now, and have some patching to do (and probably have to pull the trim on that wall and reinstall it, since it is now pushed out).
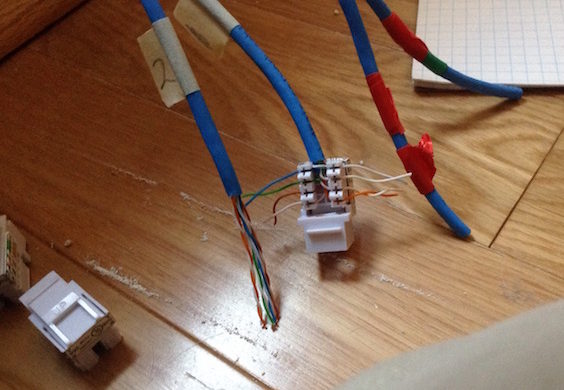
Once I got my lines in place, I replaced my electric tape “numbering” sequence with some numbers, and started terminating them.
.
Finally, a bit of patch panel work for these new lines, and I am left with something functional.
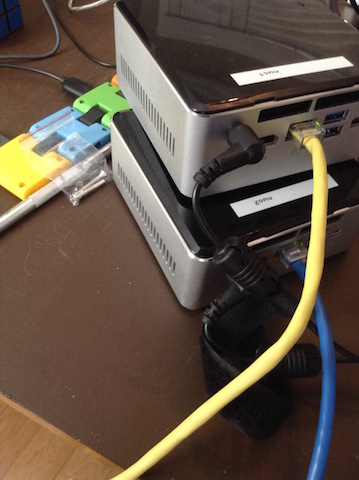
This gives me wired connections to the two NUCs that I’m going to be using as development boxes (the RHEL7 + linux 4-5 kernel iwlwifi driver is pretty erratic, and has erratic and frequent hangs).
I have a whole bunch of finishing to do for this project. For example I haven’t even put in the box to attach the wall plate to in the office, and have unsecured lines in the basement, and don’t have the patch panel mounted yet. I’d also like to run a new RG6 line to the office and put the router in there. Because I ran lots of lines into the office space, this will allow me to feed other locations in the house through the patch panel.
All that said, I have accomplished the task I set out to do. Get myself up and running with NUCs and monitor all in the office, and no more flaky wireless to those devices.
I picked up a greenlee kit pretty close to this one http://www.greenlee.com/products/QUICK-CHANGE-D%2540tVERSIBIT-SYSTEM-KIT.html and it works pretty great. the flexible shaft makes it easy to fish into the wall and drill down. used it to run network from my second floor down to first and then again down to the basement. the extensions are even great for when a spot is too tight to get a drill into.